SeekrFlow Agents UI - Configuration & Management
The Seekrflow UI enables users to create and prototype Seekr agents without writing a line of code
The Seekrflow Agents UI is broken into two separate experiences:
- Agent Creation
- Agent Playground
Agent Creation experience users can create, configure, and manage their Seekrflow agents.
Agent Creation
The Agents tab is your starting point on your Seekrflow Agents journey. This is where you can configure and manage all of your Seekrflow Agents
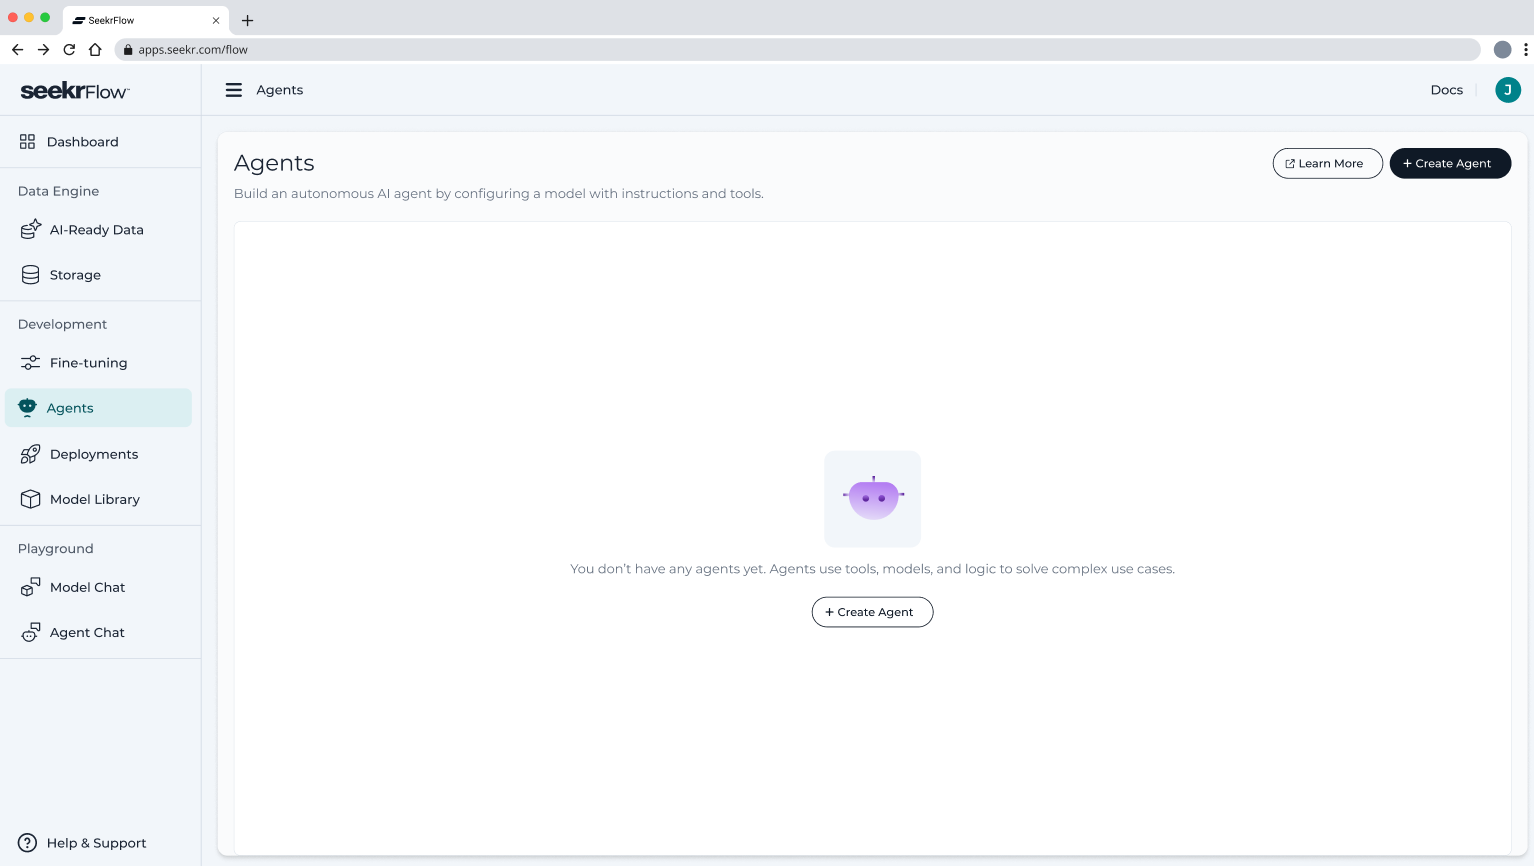
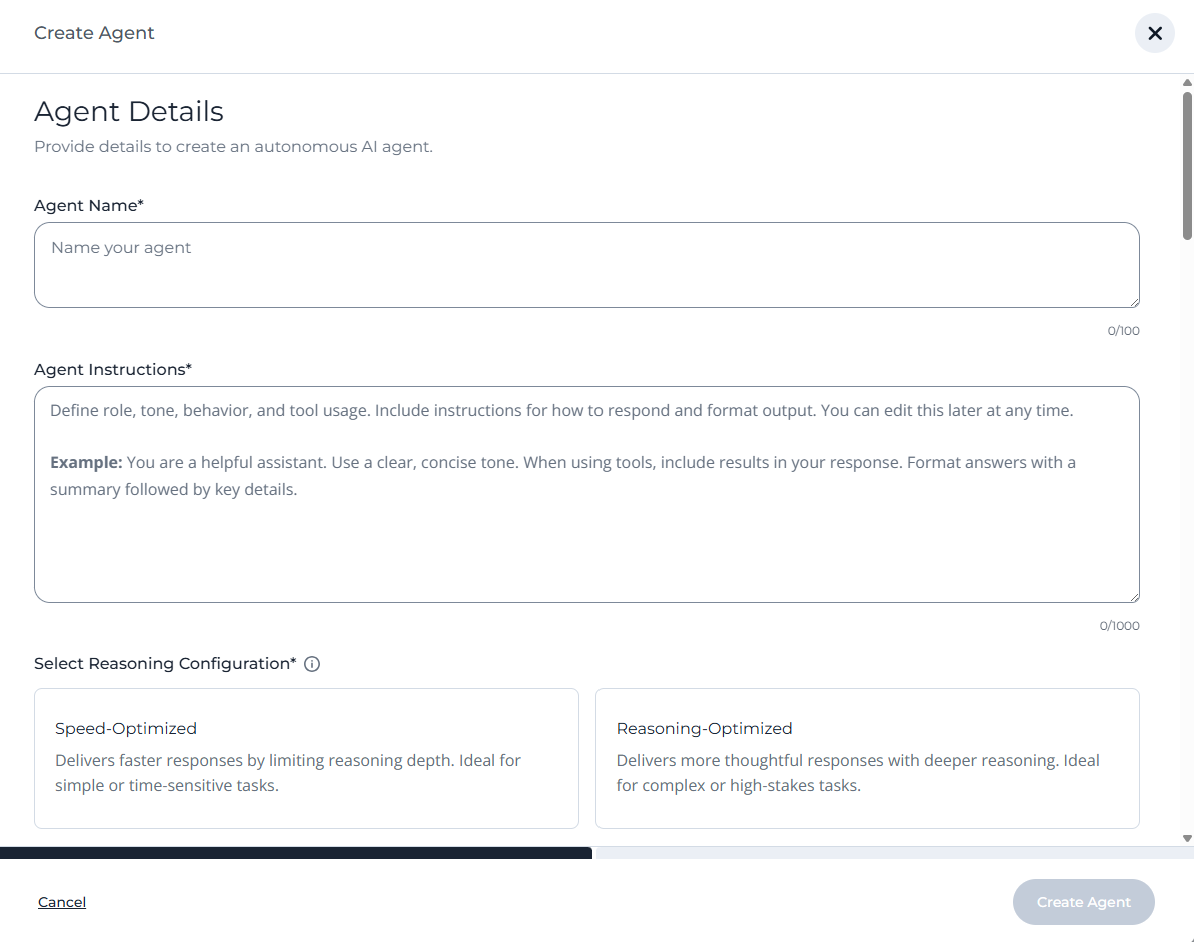
Users can begin their agent creation journey by selecting Create Agent in the top righthand corner of the Agents page. Users will be prompted to enter the following information:
- Agent Name is the name you'll give an agent
- Agent Instructions are instructions you will give the agent to perform the specific task you wish you accomplish
- Reasoning Configuration is the configuration you can give your agent depending on your use-case
While the configuration is solely up to the user, we recommend the following best practices when configuring your agent:
Agent Name: Choose a unique, descriptive name that clearly identifies the agent's purpose or role. This helps distinguish between multiple agents in your workspace.
Agent Instructions: Write clear, specific instructions that break down complex tasks into smaller, actionable steps. Define exactly what the agent should do at each stage, including specific wording for user interactions. Avoid ambiguous language - the more precise your instructions, the more reliable your agent's performance will be.
Select Reasoning Configuration:
- Speed-Optimized: Choose for straightforward tasks requiring quick responses with minimal analysis. Speed optimized could become unreliable for use cases that require a significant reasoning
- Reasoning-Optimized: Select for complex scenarios requiring deep analysis, multi-step problem solving, or high-stakes decisions. Latency will likely be compromised if you select reasoning-optimized
Model Selection
After configuring the above, you will be prompted to select a base LLM to power your agent.
- The Seekr Advantage for SaaS customers, we host effectively every open source LLM. No need to configure the compute on your own clusters, simply select your desired model and move forward. We take care of the rest!
- The Seekr Advantage you can also select one of your finetuned LLMs by selecting the deployments tab
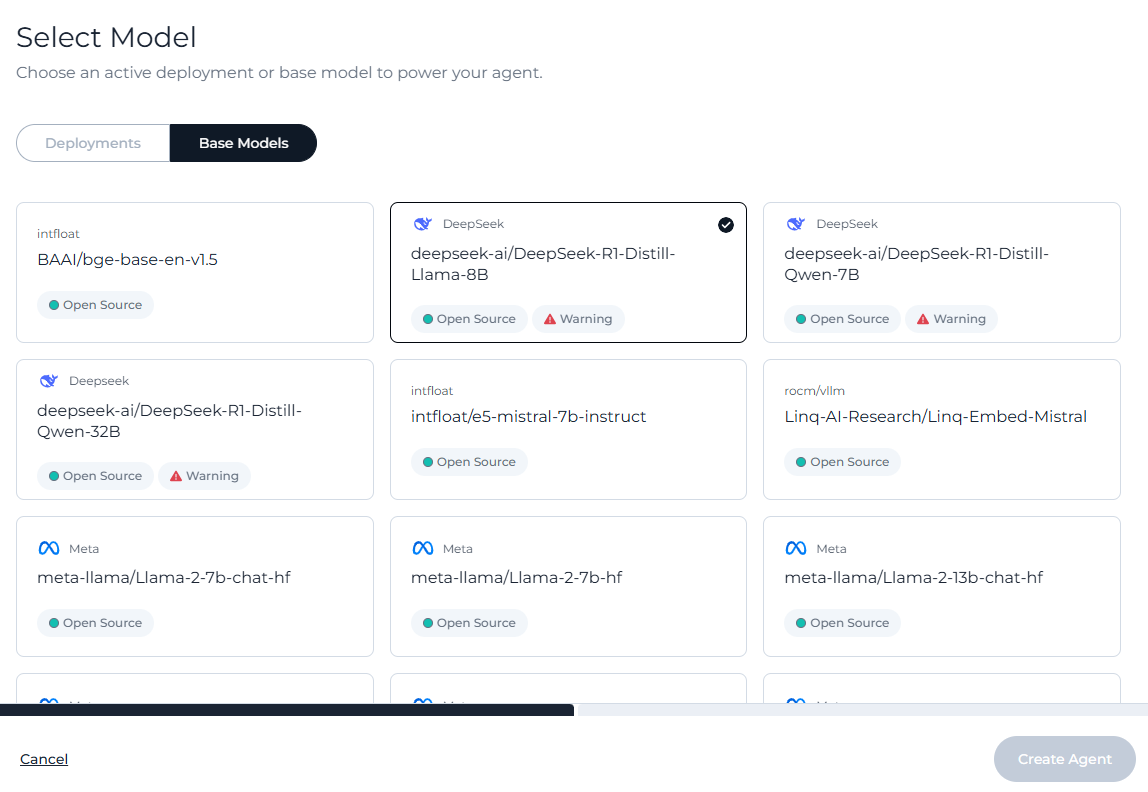
Selecting the right model for your use case is important. When we think about selecting models for our agents, we think about it in the following dimensions:
| Dimension | Question to Ask | Why it Matters |
|---|---|---|
| Reasoning Depth | Will the agent perform multi-step reasoning, synthesis across documents, or planning? | Larger models (e.g. Mistral-7B, Mixtral) are more reliable on complex tasks with ambiguous language. |
| Latency Budget | Does the user experience demand sub-second latency or tolerate slower response time? | Small models (e.g. TinyLlama, Phi-2) on GPU can hit sub-second round trips; larger models introduce tradeoffs. |
| Cost | Are there internal or customer SLAs around infra cost per agent run? | Seekr controls infra, but costs still scale with model size. Overuse of big models affects multi-tenant load. |
| Throughput & Concurrency | Will this run across 1 or 10,000 concurrent agents? | Lightweight models scale horizontally with lower GPU utilization and memory overhead. |
| Context Length | Will the agent regularly need to process >16k tokens? | Seekr’s infra supports long-context models (e.g. LLaMA3-70B-128k), but use them selectively to avoid overkill. |
| Safety & Compliance | Is the agent evaluated for sensitive data, hallucinations, or must it follow principles? | Larger models exhibit stronger zero-shot guardrails. Smaller models may need runtime post-processing. |
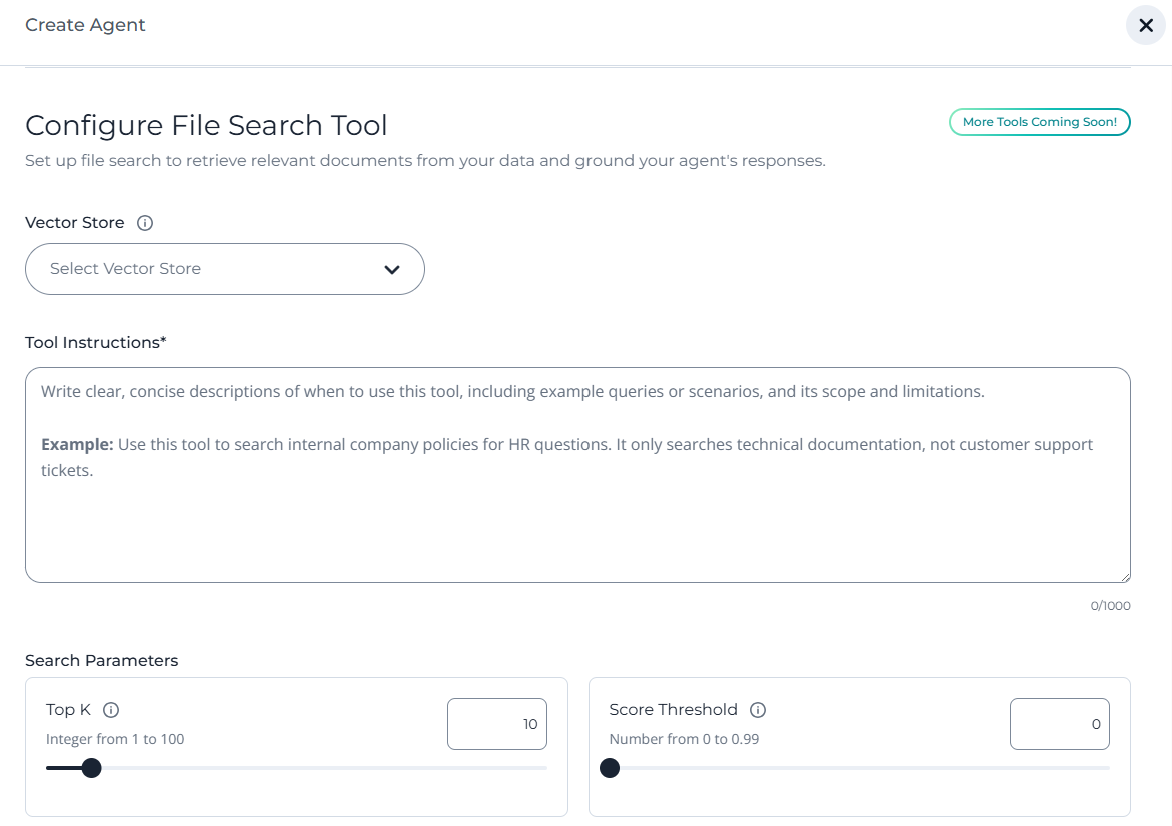
Tool Configuration
After selecting your model, you can elect to configure Tools in the UI. Today, you can configure agentic file search, with more tools on the way!
File Search
File search has three main configuration components:
- Vector Store: data store embedded documents. This is the source from which the agent retrieves contextually relevant results based on user queries.
- To create a vector store, follow the instructions outlined here.
- Tool Instructions: Description of when the agent should use this tool.
- Search Parameters
- Top K: Sets the number of top-ranked results the agent retrieves from the vector store. Higher values return more documents
- Score Threshold: Filters out results with a similarity score below the defined threshold (range: 0–0.99).
When configuring file search, we recommend the following best practices for each of the configurations.
Tool Instructions: Tool instructions tells the agent when to use the tool
- Be specific about the use case.
- Include clear examples and boundaries.
- Avoid vague language like “for general knowledge.”
Top k: Controls how many chunks the agent retrieves from the vector store.
- Higher values = more context, more noise
- Use higher Top K (20–50) for deterministic tasks (e.g. finding exact policy terms).
- Lower values = tighter, faster retrieval
- Use lower Top K (5–10) when speed or precision matters (e.g. summarizing a focused document).
Score Threshold: Filters out low-similarity results. Only documents scoring above this threshold are returned.
- Higher threshold = stricter relevance
- Use a high threshold (0.7–0.9) for fact-based, low-tolerance tasks (e.g. legal, finance).
- Lower threshold = more flexibility
- Use a lower threshold (0.2–0.5) when results can be exploratory or noisy (e.g. brainstorming, search over scanned docs).
Agent Management
After creating your Agent, it will appear in the Agents screen where you can view and manage.
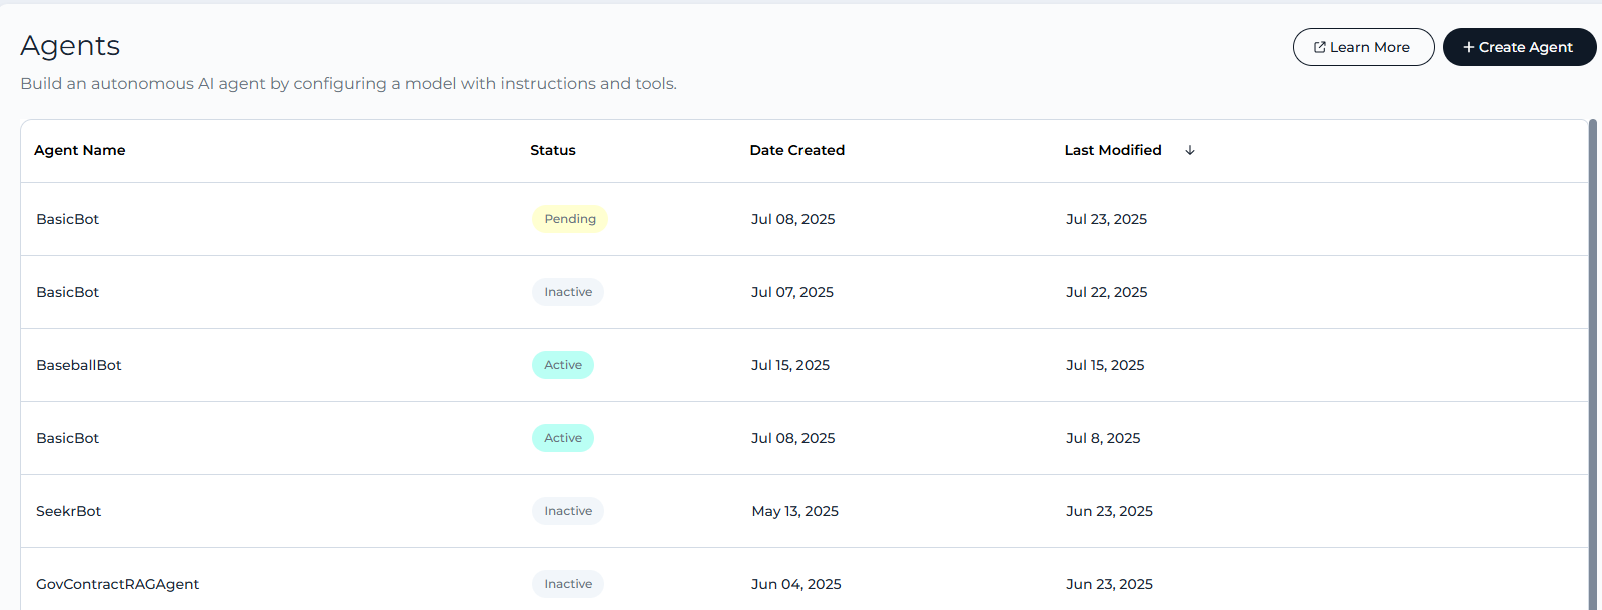
By clicking on an agent, you can view full configuration details including:
- Date Created/Deployed
- Agent Instructions
- Tool Configuration and Instructions
Agent Status
Each agent has an associated status.
- Active indicates the agent is ready to serve active traffic
- Pending indicates the agent has recently been promoted and will soon become active
- Inactive indicates the agent is not currently deployed, and needs to be activated before it can service traffic
Activate an Agent
To activate an agent, follow the below steps
- Select the inactive agent in your agent management page
- Find and select the Start button in the top righthand corner
- Select Start Agent after the popup appears
After completing the above steps, the agent will appear as 'Pending', which indicates the activation was successful and Seekr is performing the necessary actions under the hood to deploy your agent.
After a few minutes, the agent's status should turn to Active and you will be able to use the agent for your application.
Updated 28 days ago