

This page covers the app. To upload and ingest files in code, see Prepare and ingest files in the SDK guide.
Upload files
Before you upload, check your files against the supported formats and structure.1
Navigate to Data Engine > Storage, then select the Files tab.
2
Click Upload Files.
3
Select a file purpose: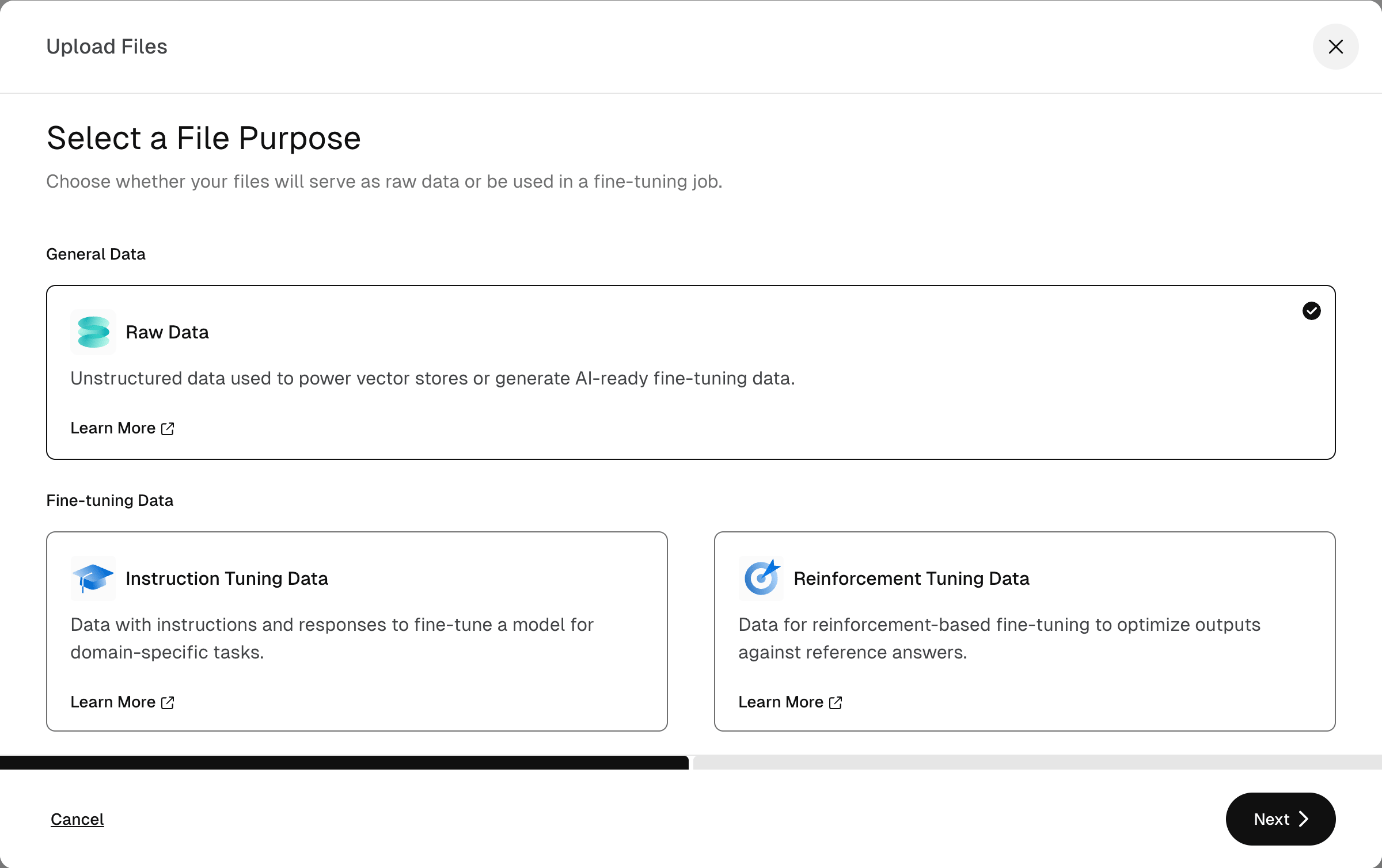
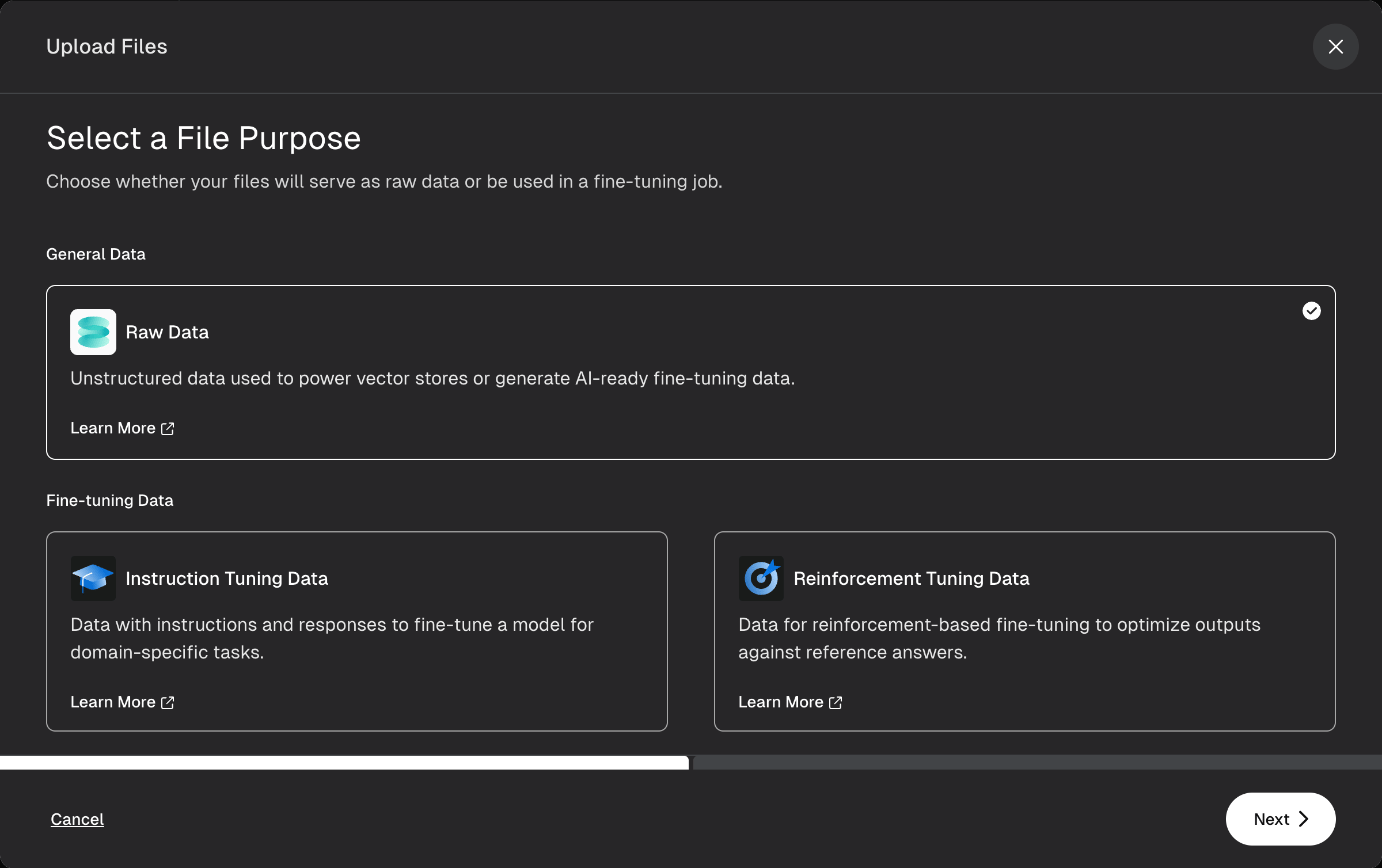
- Raw Data – Unstructured data that powers vector stores or generates AI-ready fine-tuning data.
- Instruction Tuning Data – Data with instructions and responses to fine-tune a model for domain-specific tasks.
- Reinforcement Tuning Data – Data for reinforcement-based fine-tuning that optimizes outputs against reference answers.
4
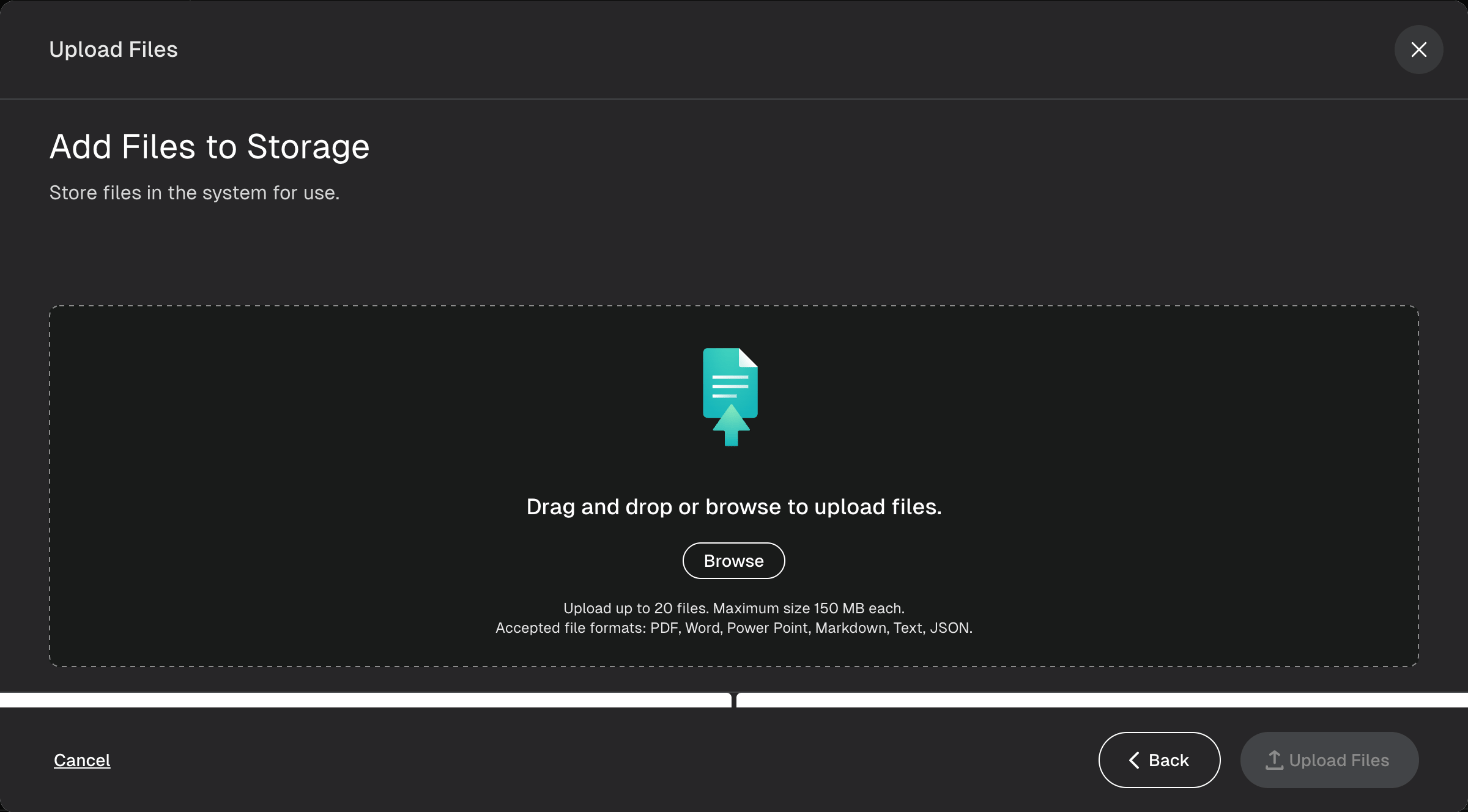
Click Next, then drag and drop your files or click Browse to select them.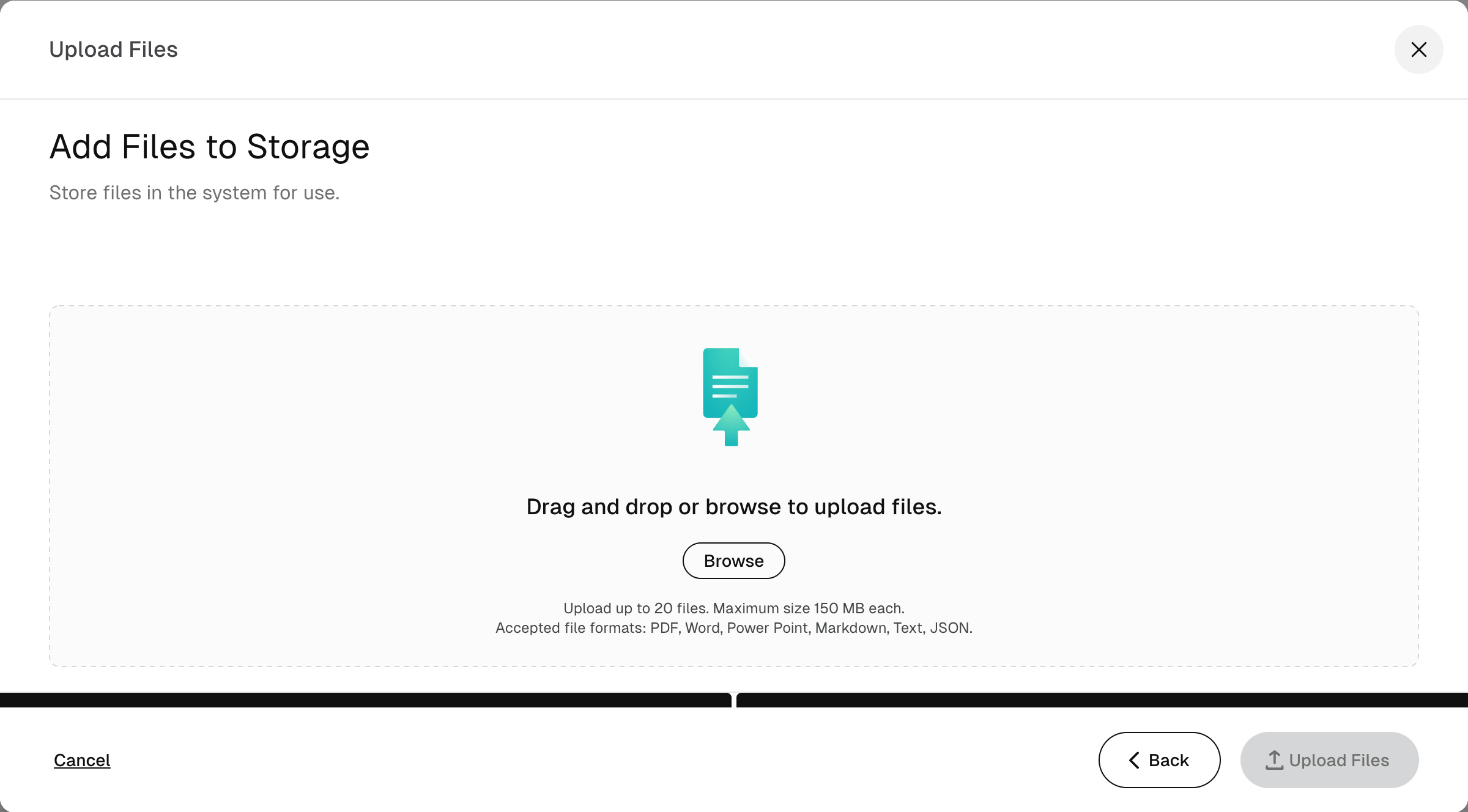
5
Review the list of files. SeekrFlow flags a file in an unsupported format or over 150 MB. Click the X next to a file to remove it, or click Add More Files to add others.
6
Click Upload Files.
View your files
The Files tab lists every file in storage with its name, source type, file type, and date added.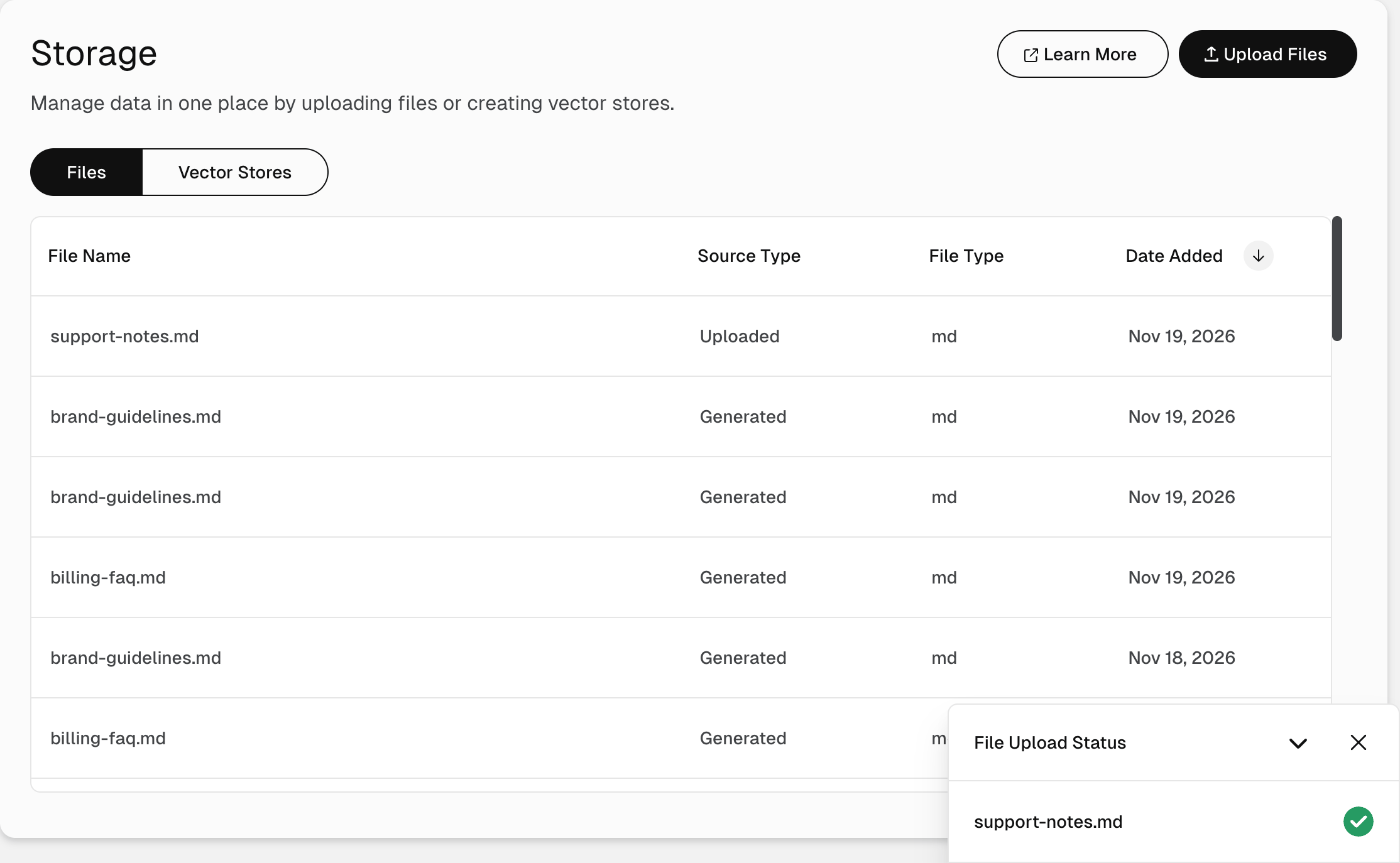
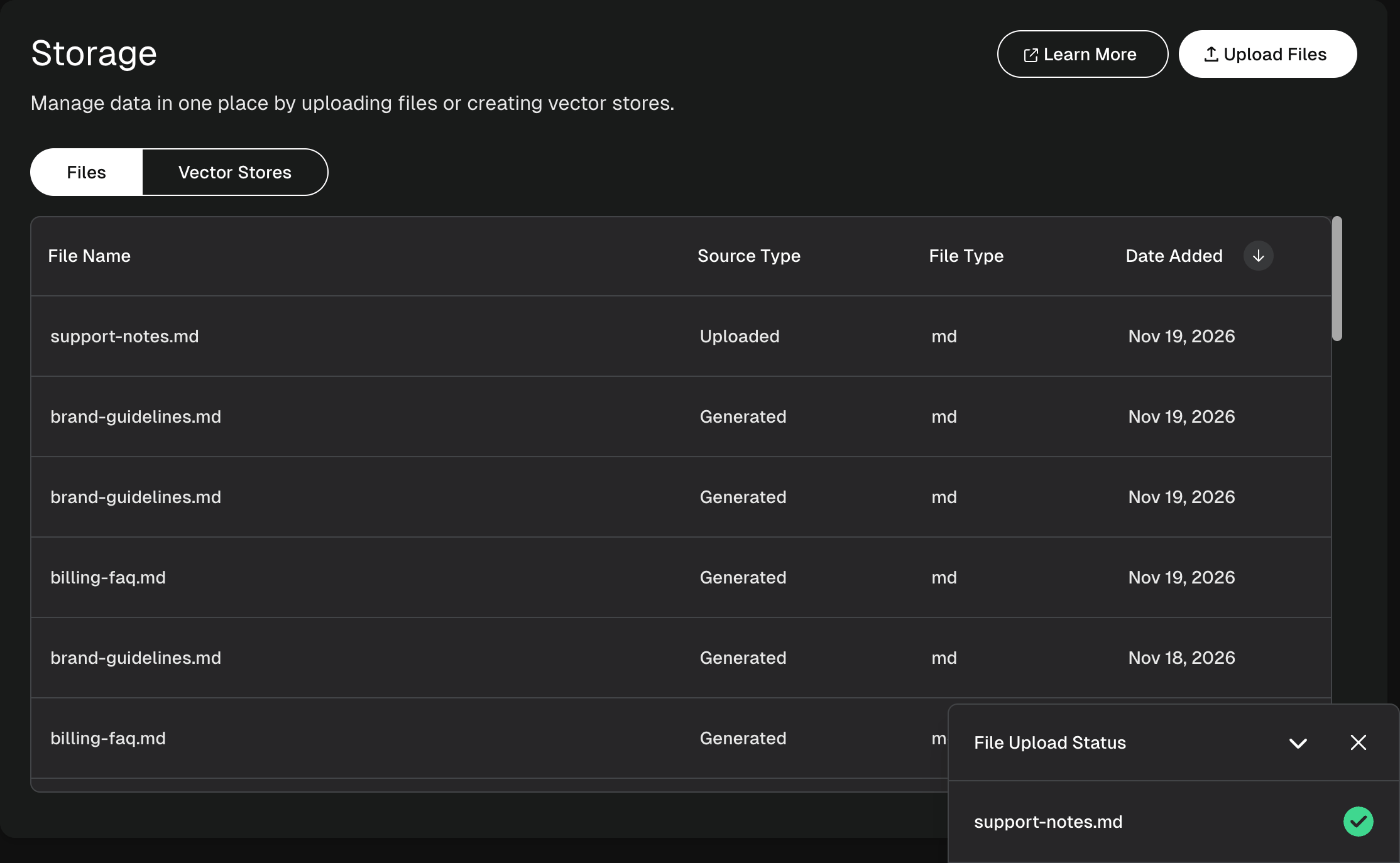
You can reuse generated files in future jobs, vector stores, and fine-tuning workflows.
View file details
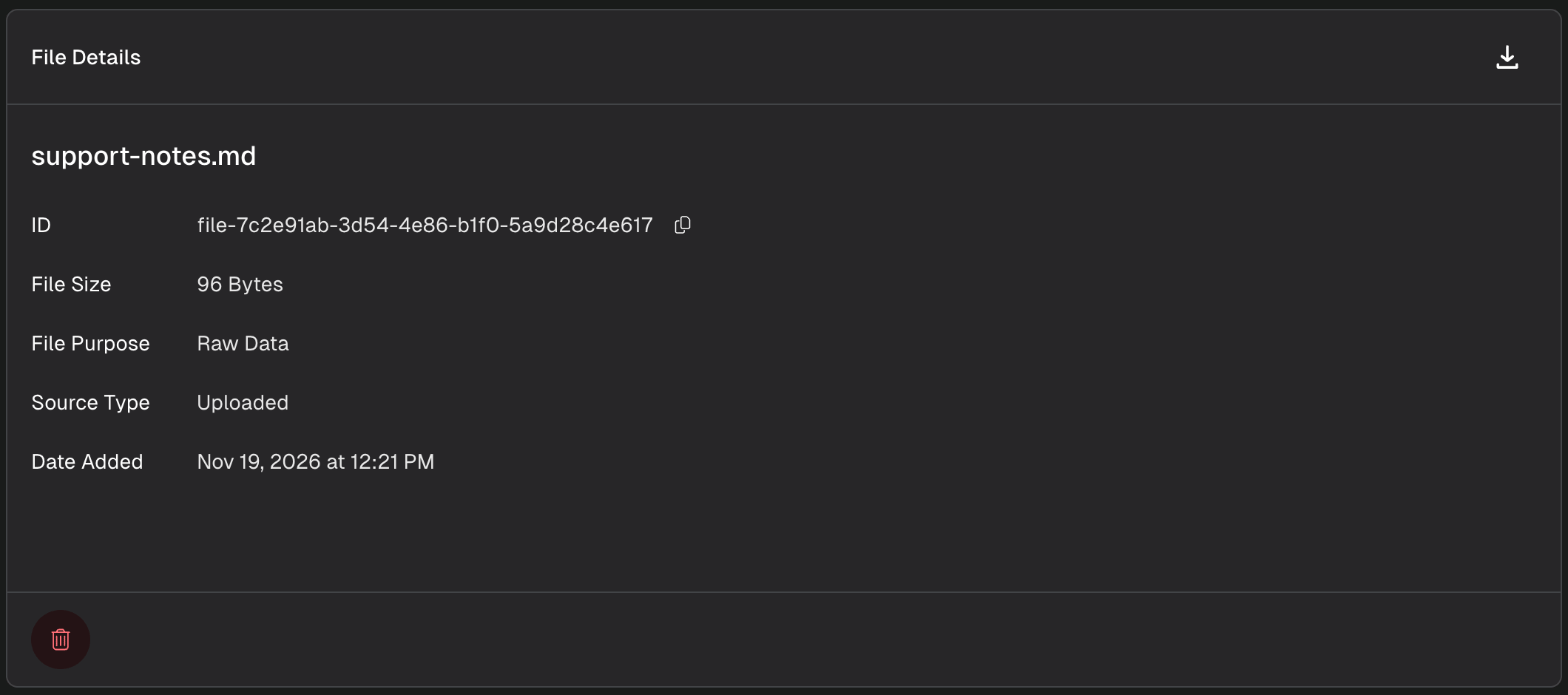
Click a file to open its details view. The view shows the file’s ID, size, purpose, source type, and date added. The purpose is the one you selected at upload: Raw Data, Instruction Tuning Data, or Reinforcement Tuning Data.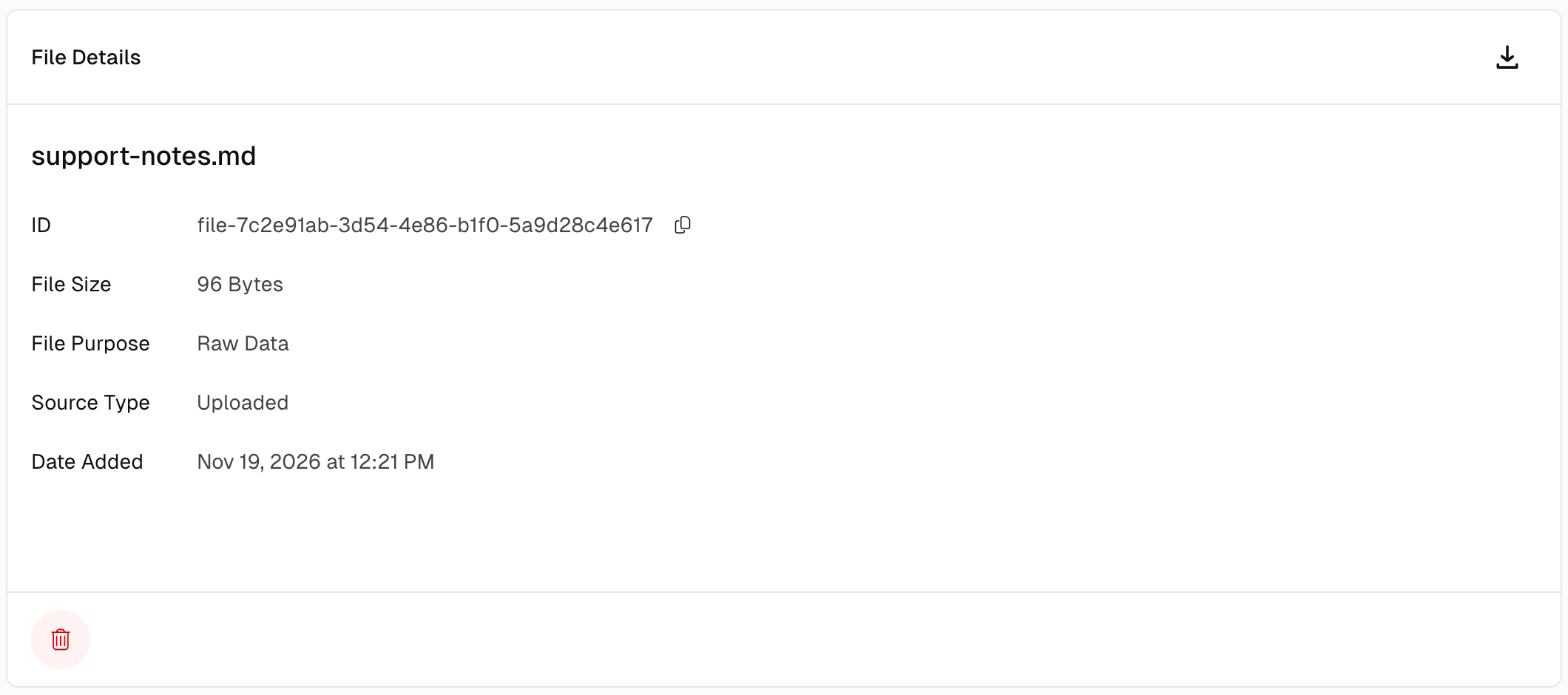
Rename, download, or delete a file
Open the file’s details view, then choose an action:- Rename – Click the edit icon next to the file name.
- Download – Click the download icon.
- Delete – Click the delete icon, then click Delete File in the confirmation dialog.
Next steps
- Generate AI-ready data – Create training datasets from your files
- Create and manage vector stores – Build semantic indexes from your files