

This page covers the app. To work with vector stores in code, see Create and populate a vector database and Manage vector databases in the SDK guide.
Create a vector store
1
Navigate to Data Engine > Storage, then select the Vector Stores tab.
2
Click Create Vector Store.
3
Enter the vector store details: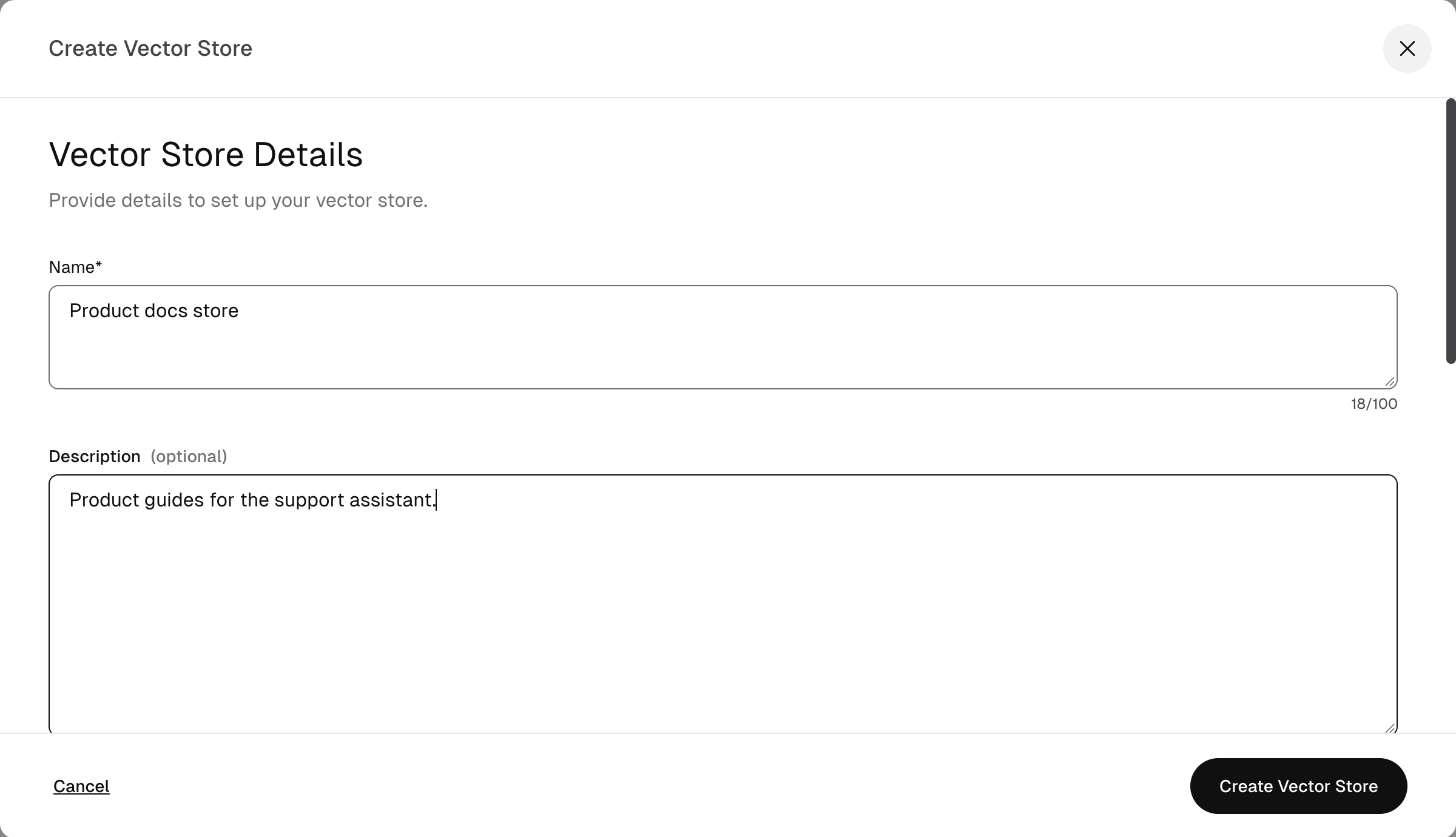
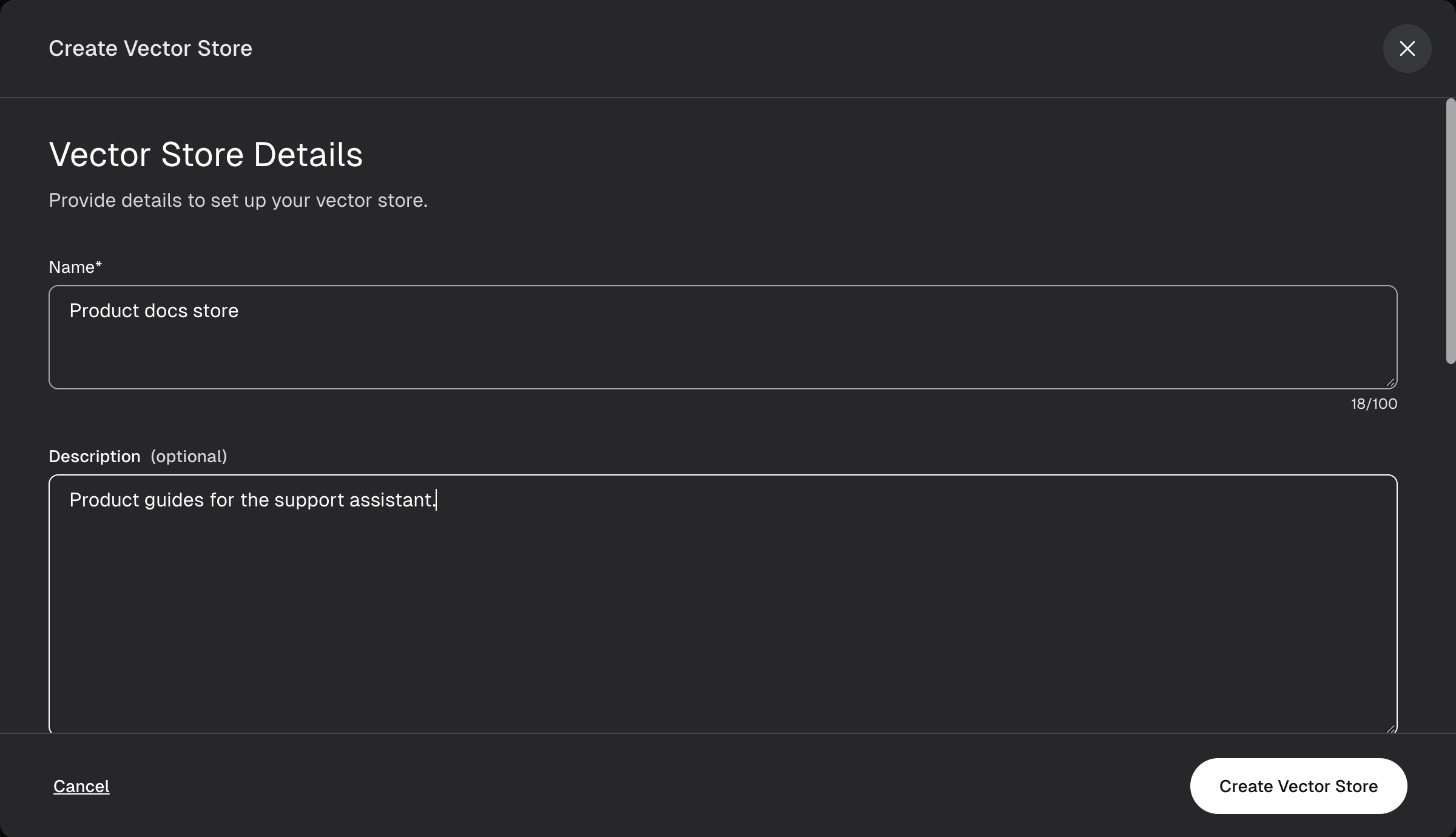
- Name – Required. Up to 100 characters.
- Description – Optional. Up to 500 characters.
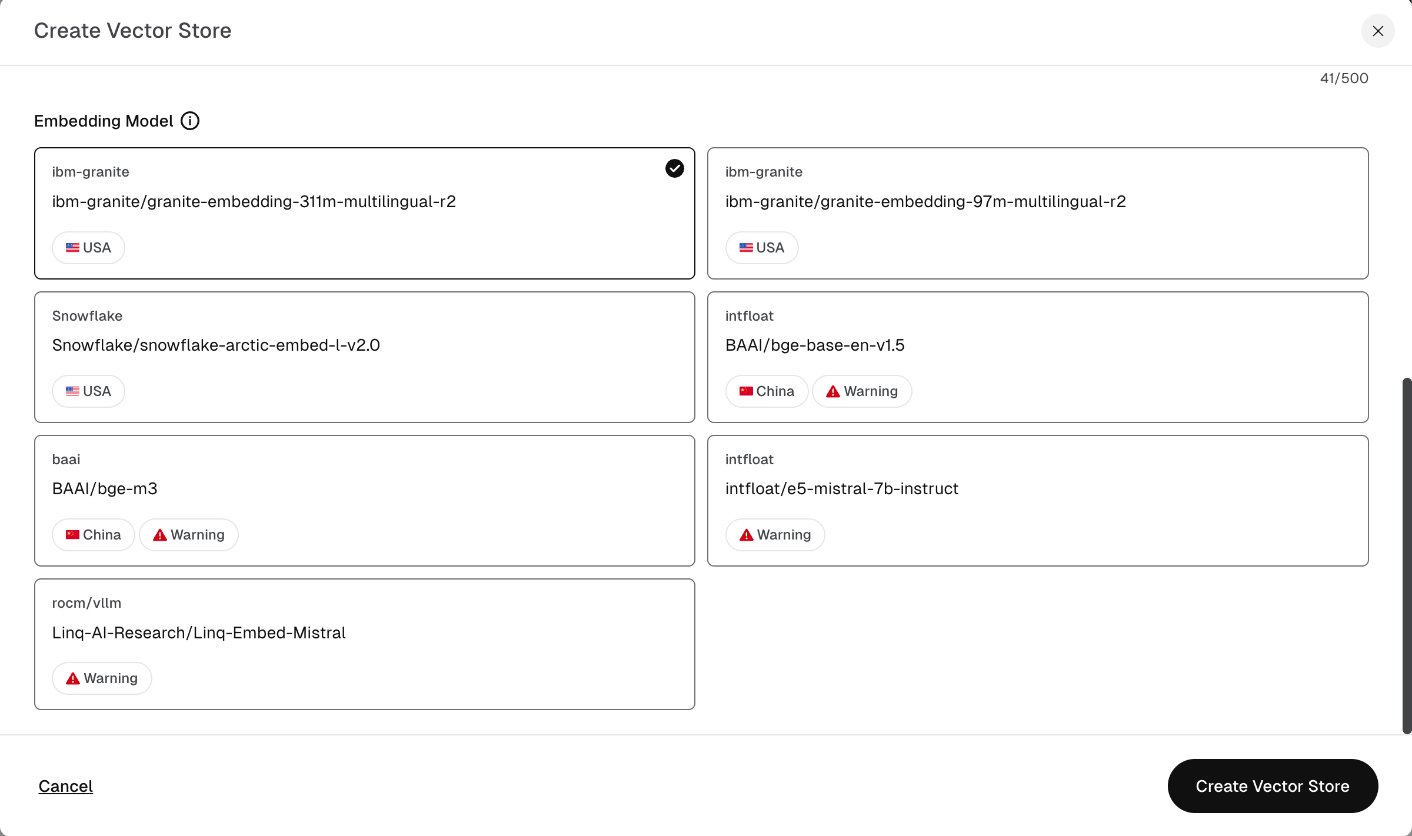
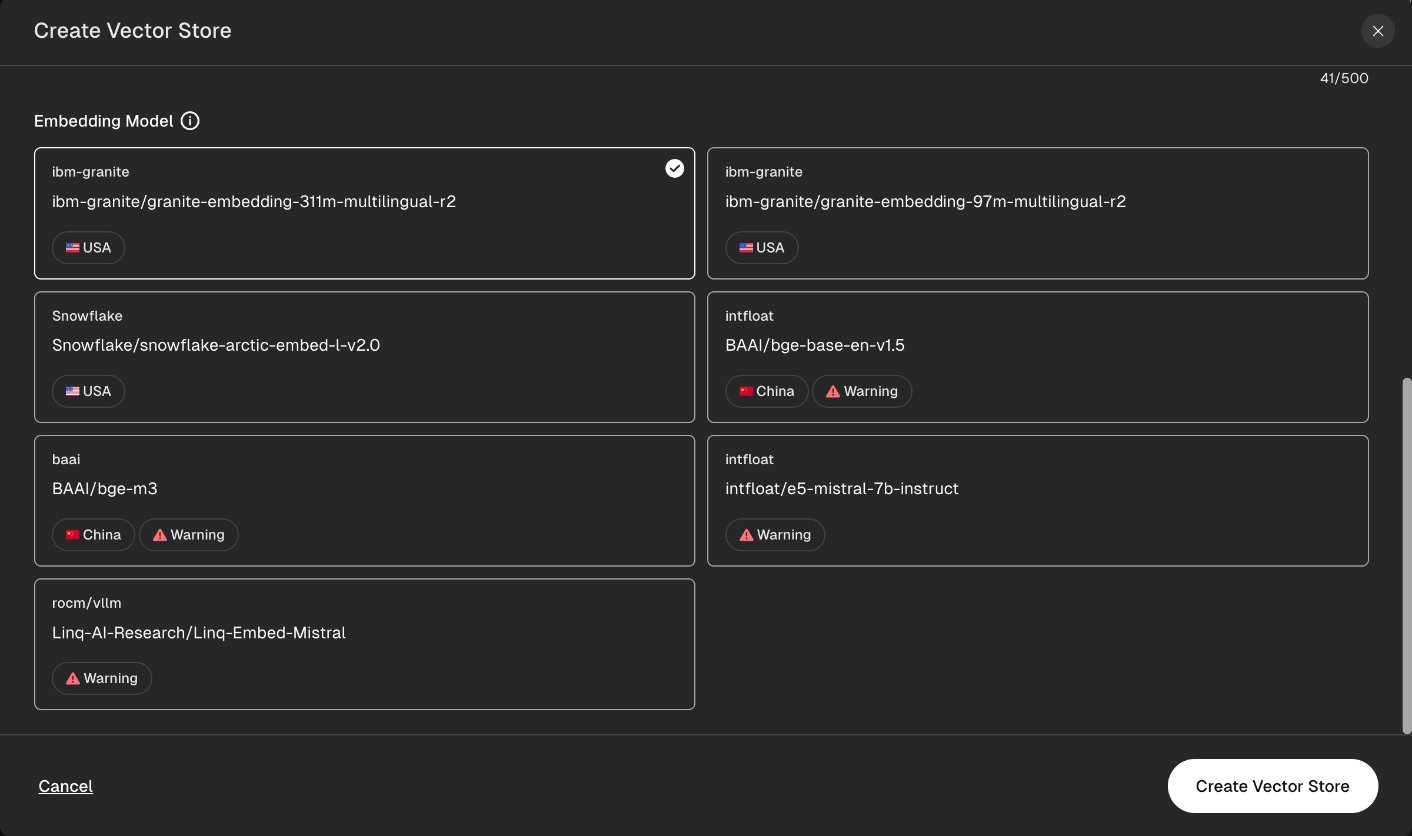
- Embedding Model – Select a model. SeekrFlow selects the first model by default. For each model’s dimensions, input limits, and language support, see Embedding models.
You can’t change a store’s embedding model in the app after you create it. To use a different model, create a new store and add your files to it.
4
Click Create Vector Store.
Add files to a vector store
Before you add files, check them against the formats and structure in Prepare files for upload.1
In the vector store details view, click Add Files.
2
Choose where the files come from:
- Select Files – Select files you already uploaded to storage.
- Upload Files – Drag and drop files, or click Browse. You can upload up to 20 files at a time, each up to 150 MB. Accepted formats: PDF, Word, PowerPoint, Markdown, and text.
3
Optional: Expand Advanced Embedding Options and adjust how SeekrFlow segments your content before embedding. Drag a slider or enter a value.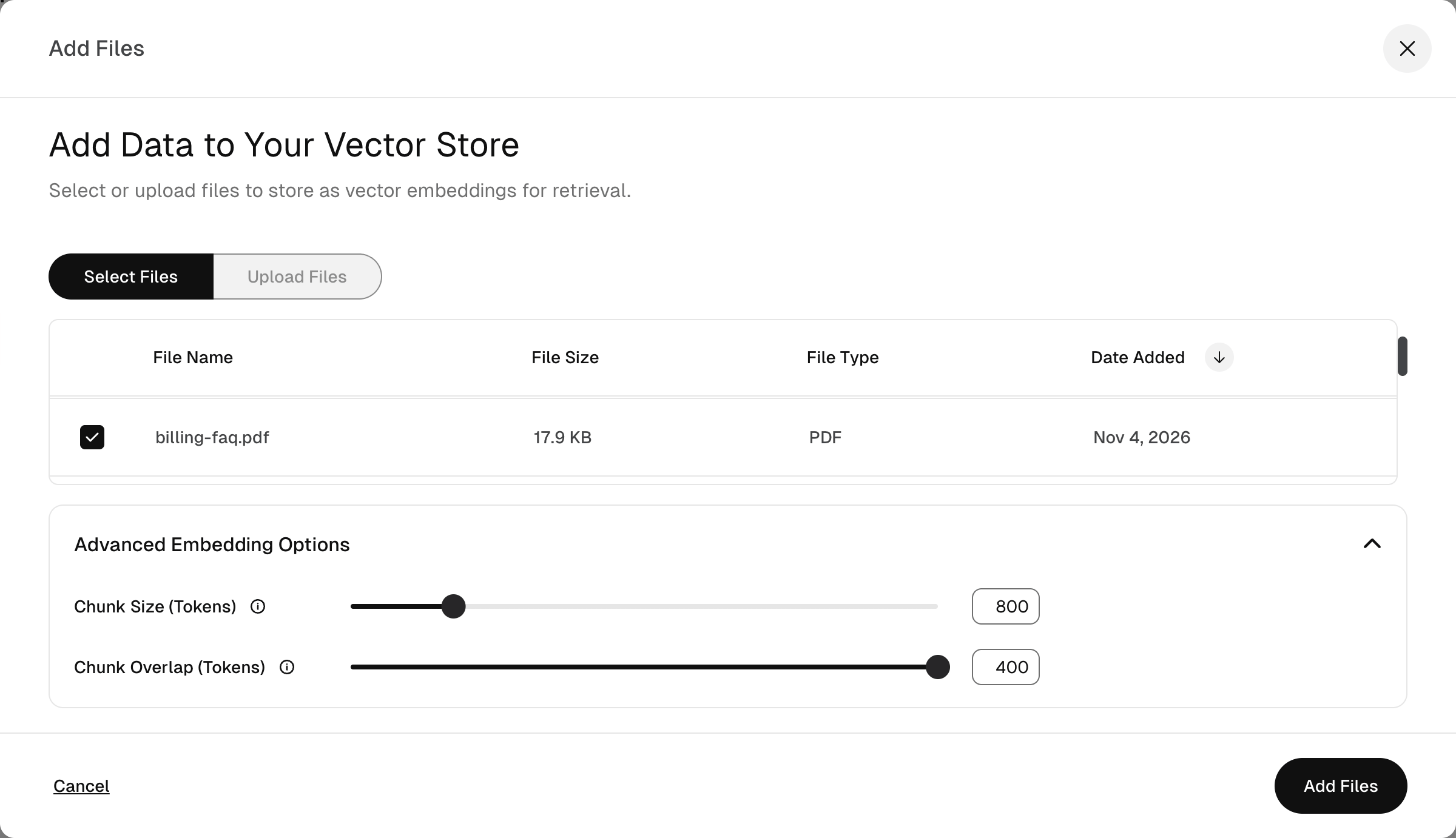
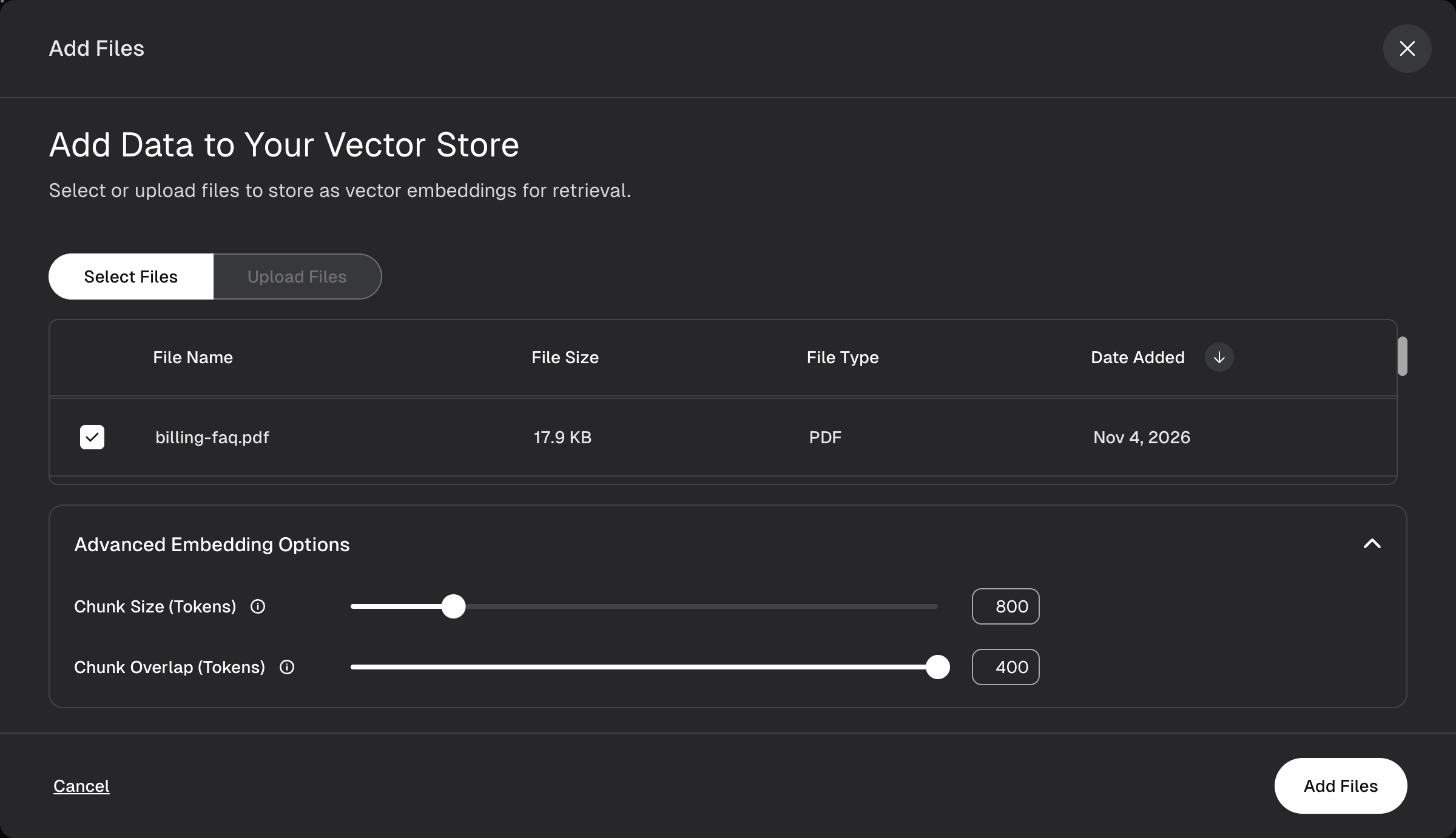
- Chunk Size (Tokens) – The maximum token count per chunk. The default is 800.
- Chunk Overlap (Tokens) – The number of tokens shared by adjacent chunks. Overlap reduces information loss at chunk boundaries. The default is 400.
4
Click Add Files.
Track file processing
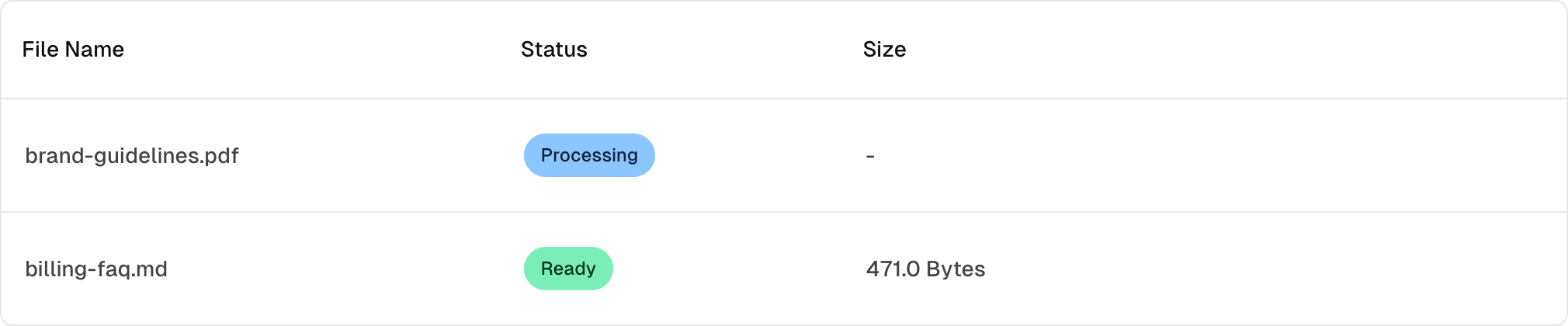
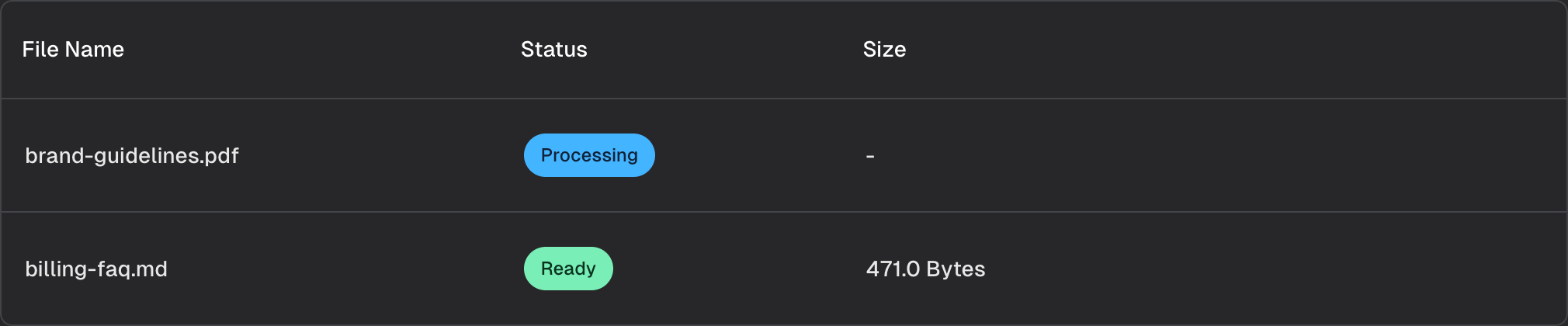
After you click Add Files, SeekrFlow processes each file automatically. It converts compatible files to Markdown when needed, splits the content into chunks based on your settings, converts each chunk to a vector, and stores the vectors in the semantic index.Ingestion modeFiles you add in the app always use speed-optimized ingestion. To use accuracy-optimized ingestion, see Choose an ingestion method in the SDK guide.
View vector store details
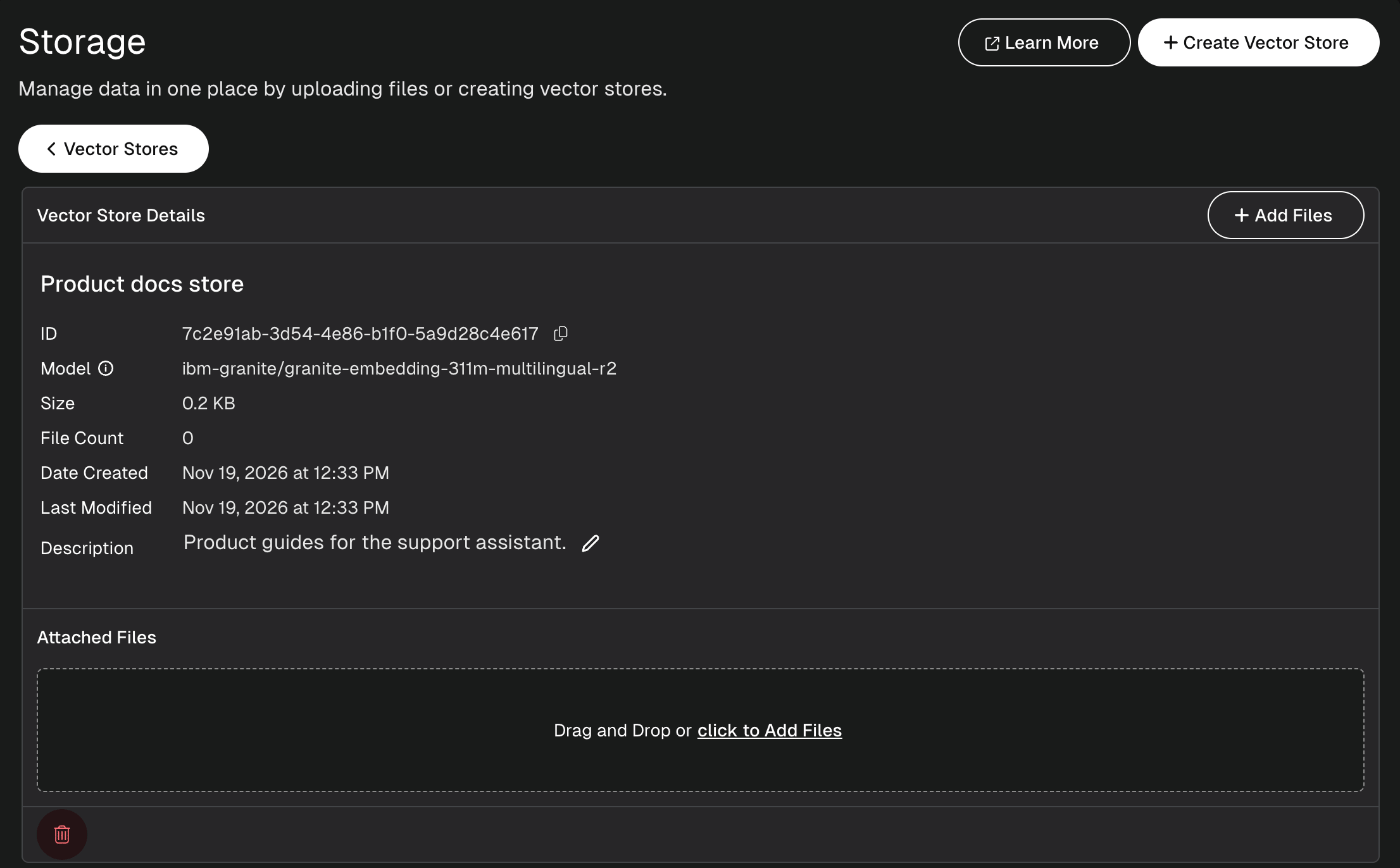
Click a vector store to open its details view. It shows the store’s ID, embedding model, size, file count, creation and modification dates, description, and attached files.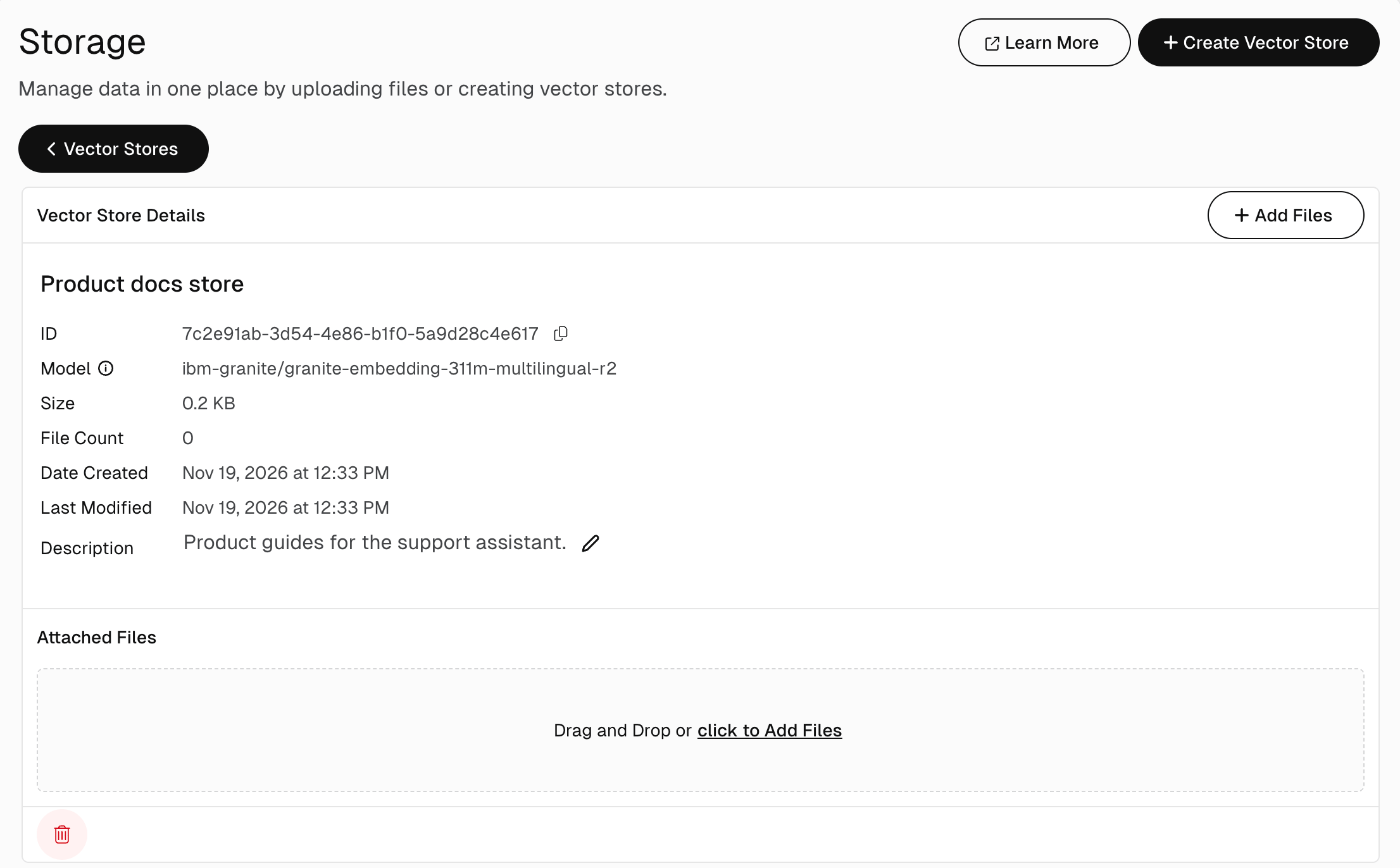
Edit, add to, or delete a vector store
Open the store’s details view, then choose an action:- Edit the description – Click the edit icon next to it.
- Add files – Click Add Files.
- Download a file – Hover over the file and click the download icon.
- Remove a file – Hover over the file and click the remove icon. SeekrFlow removes the file from the store right away.
- Delete the vector store – Click the delete icon, then click Delete Vector Store. Deleting a store disables any tools connected to it. The files remain in storage.
Next steps
- Create an agent – Attach a vector store to an agent for retrieval-augmented memory