This page covers the app. To create data jobs in code, see Create instruction fine-tuning data in the SDK guide.
Create a job
1
Navigate to Data Engine > AI-Ready Data.
2
Click Create Job.
3
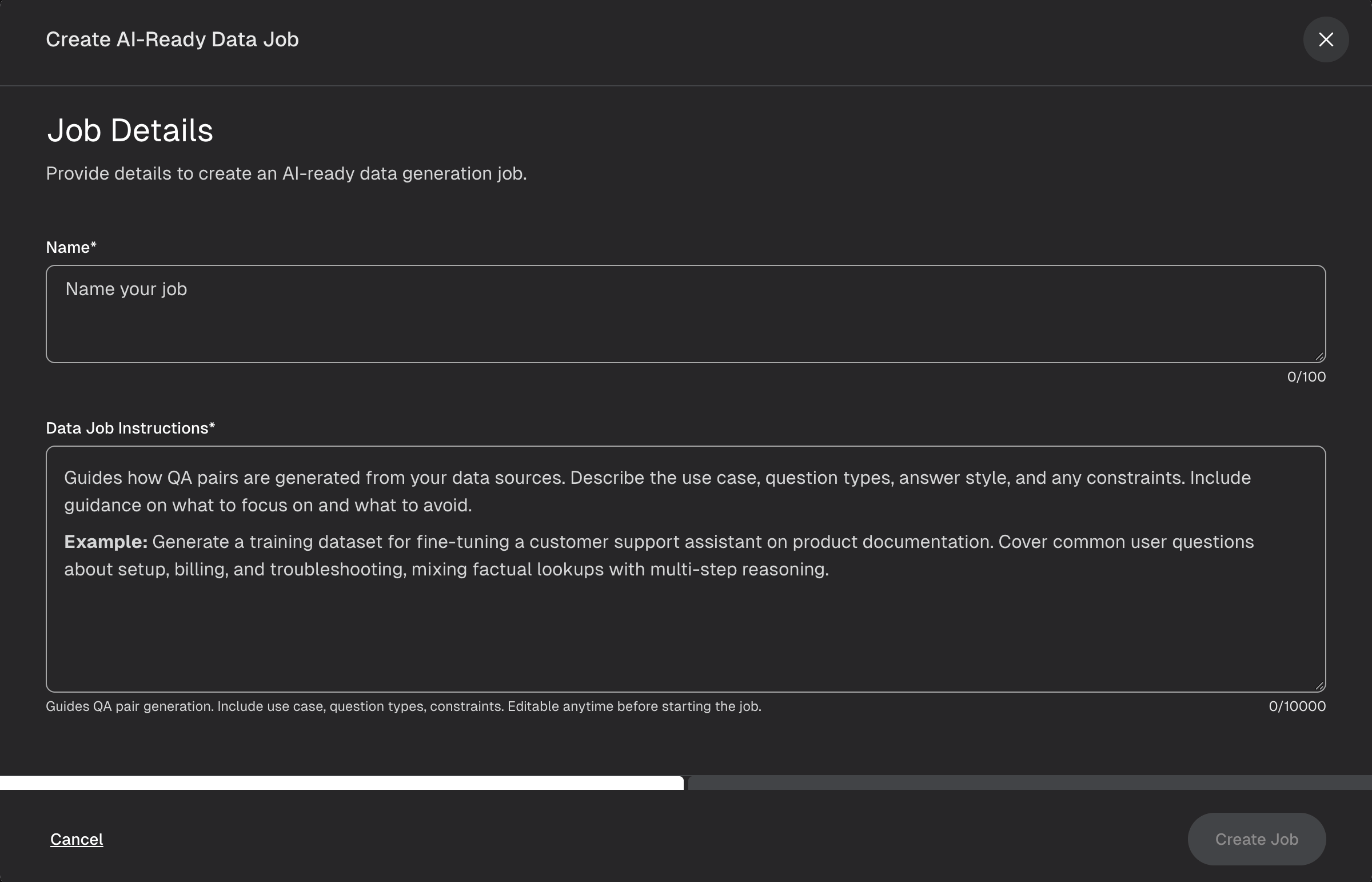
In Name, enter a name for the job. Names can be up to 100 characters.
4
In Data Job Instructions, describe how to generate question-and-answer pairs from your data. Include the use case, the types of questions, the answer style, and any constraints. Instructions can be up to 10,000 characters. For example: “Generate a training dataset for a customer support assistant on product documentation. Cover common user questions about setup, billing, and troubleshooting.”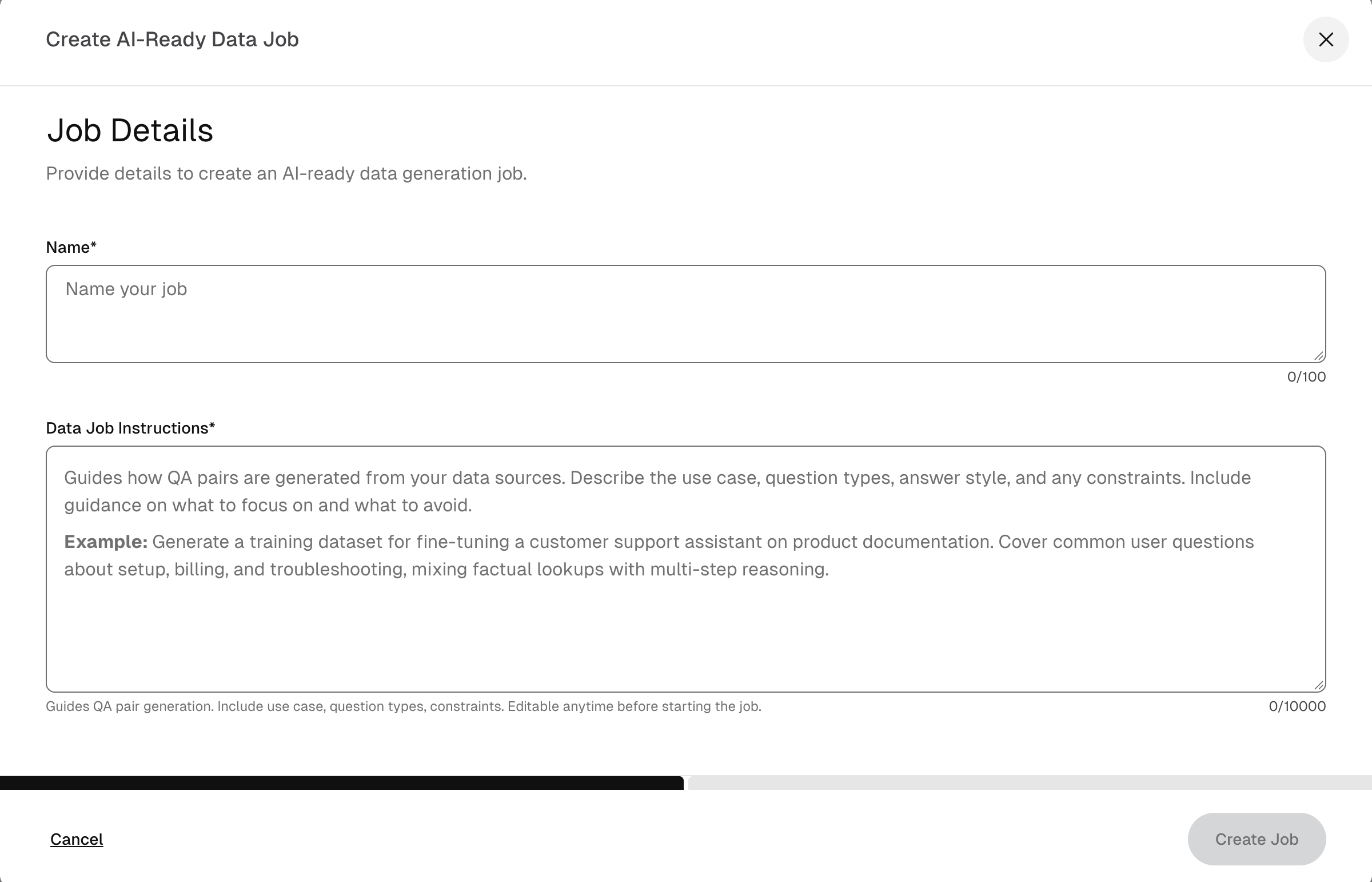
5
Click Create Job.
6
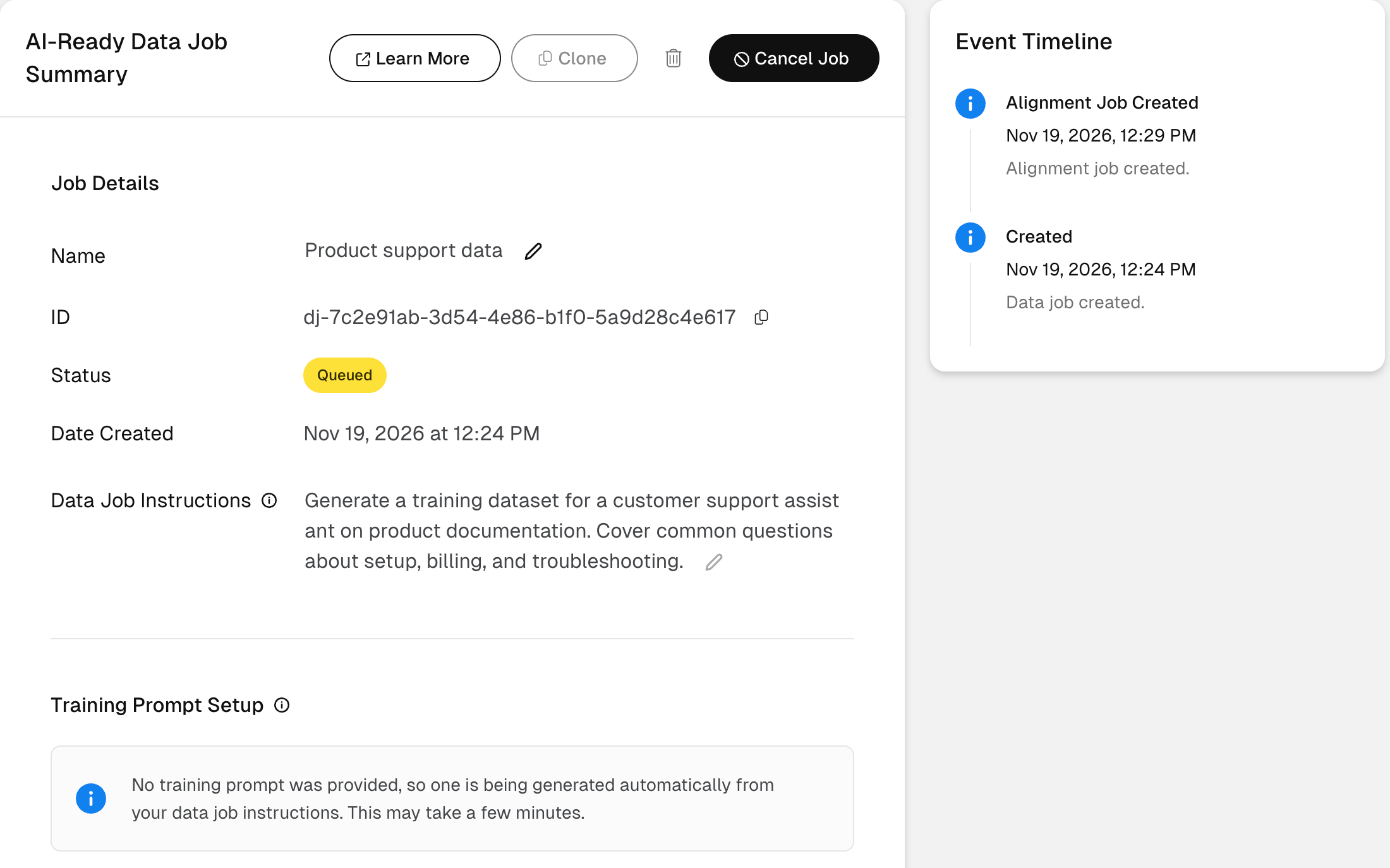
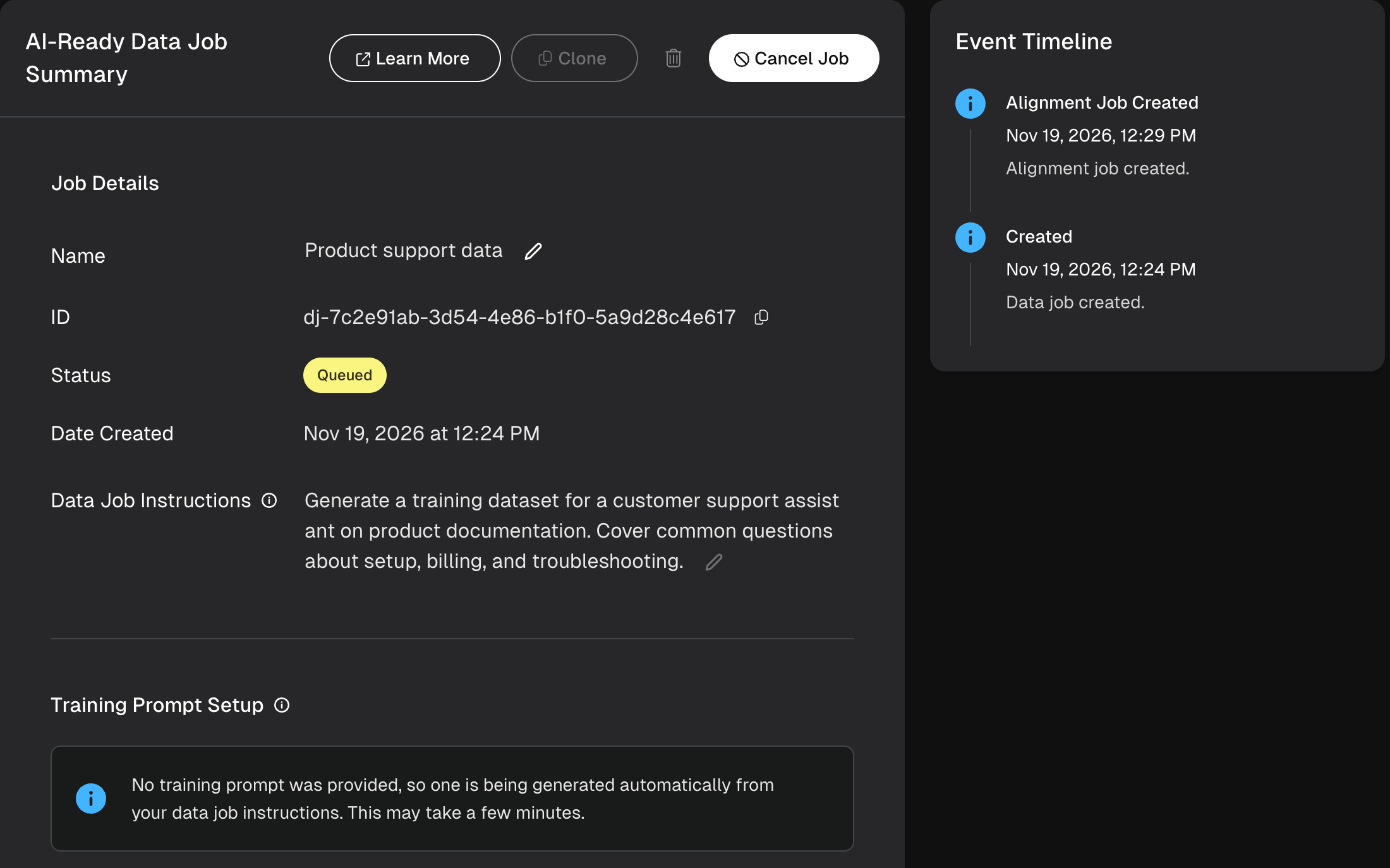
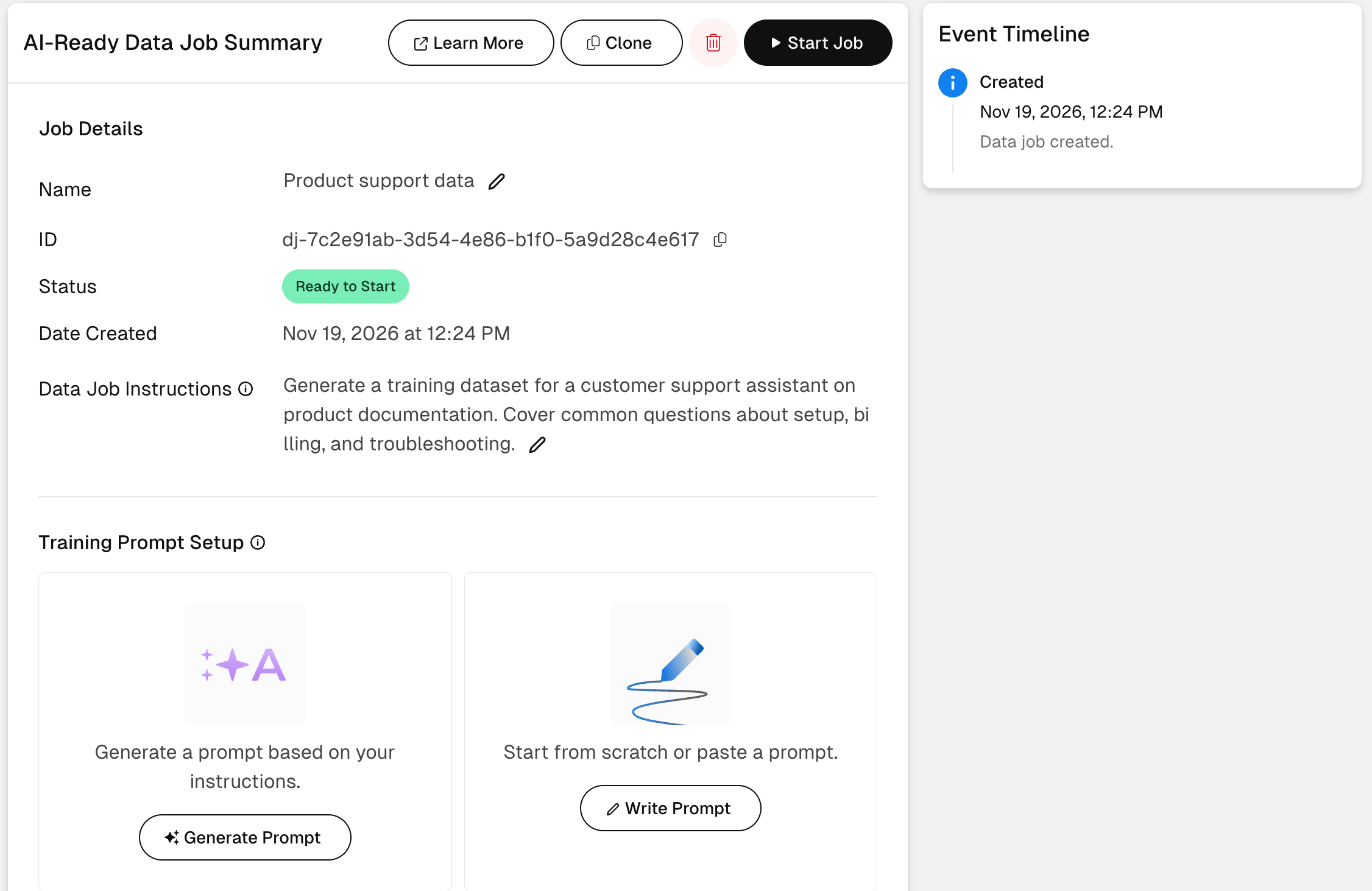
Click Go to Job to open the job’s summary page and finish setup.
Add a training prompt
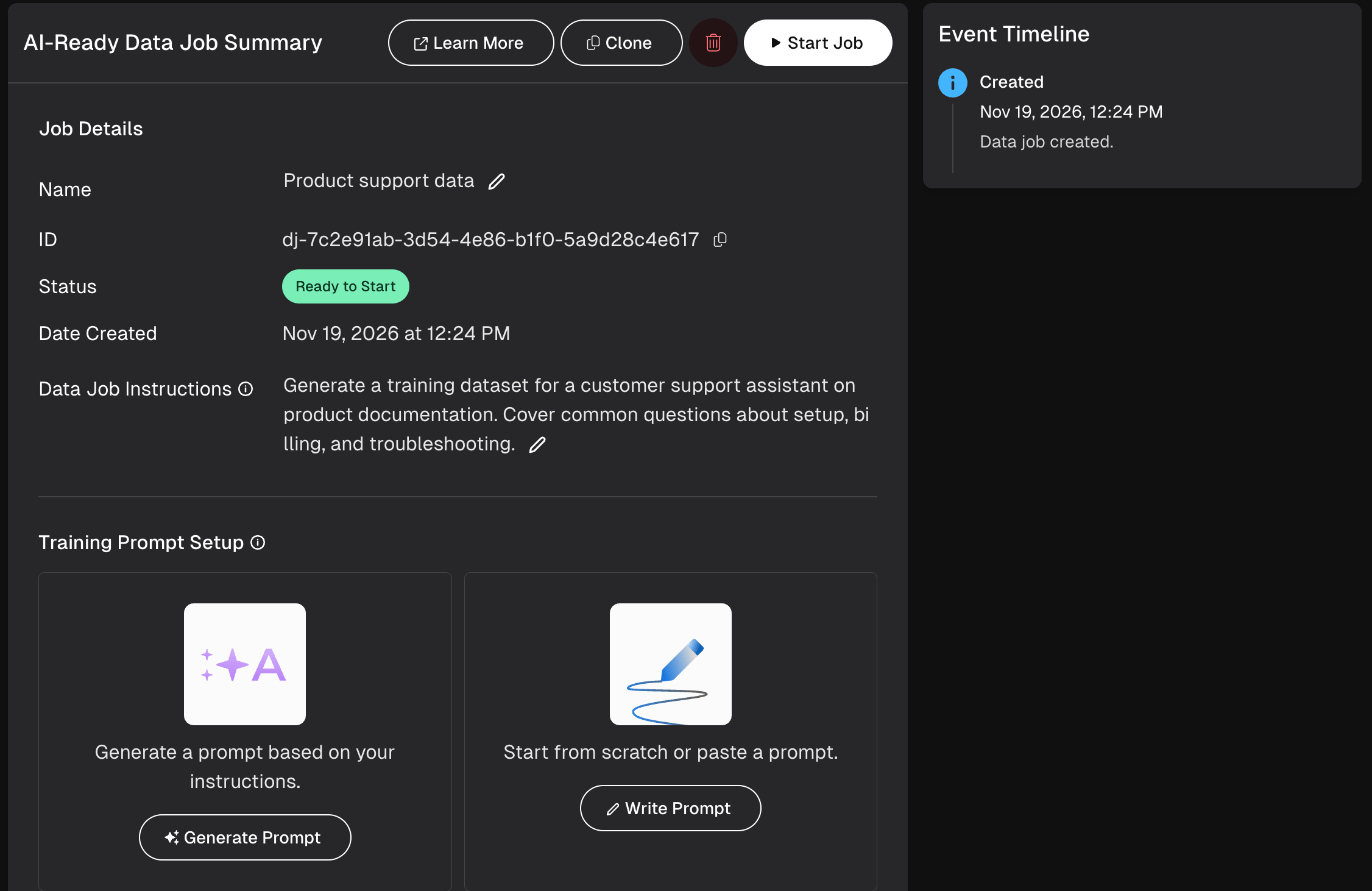
The training prompt guides how the model responds in the generated question-and-answer pairs. A training prompt is optional. If you don’t provide one, SeekrFlow generates one from your data job instructions when the job starts. On the job’s summary page, go to Training Prompt Setup and choose Generate Prompt or Write Prompt.Generate a prompt
1
Click Generate Prompt.
2
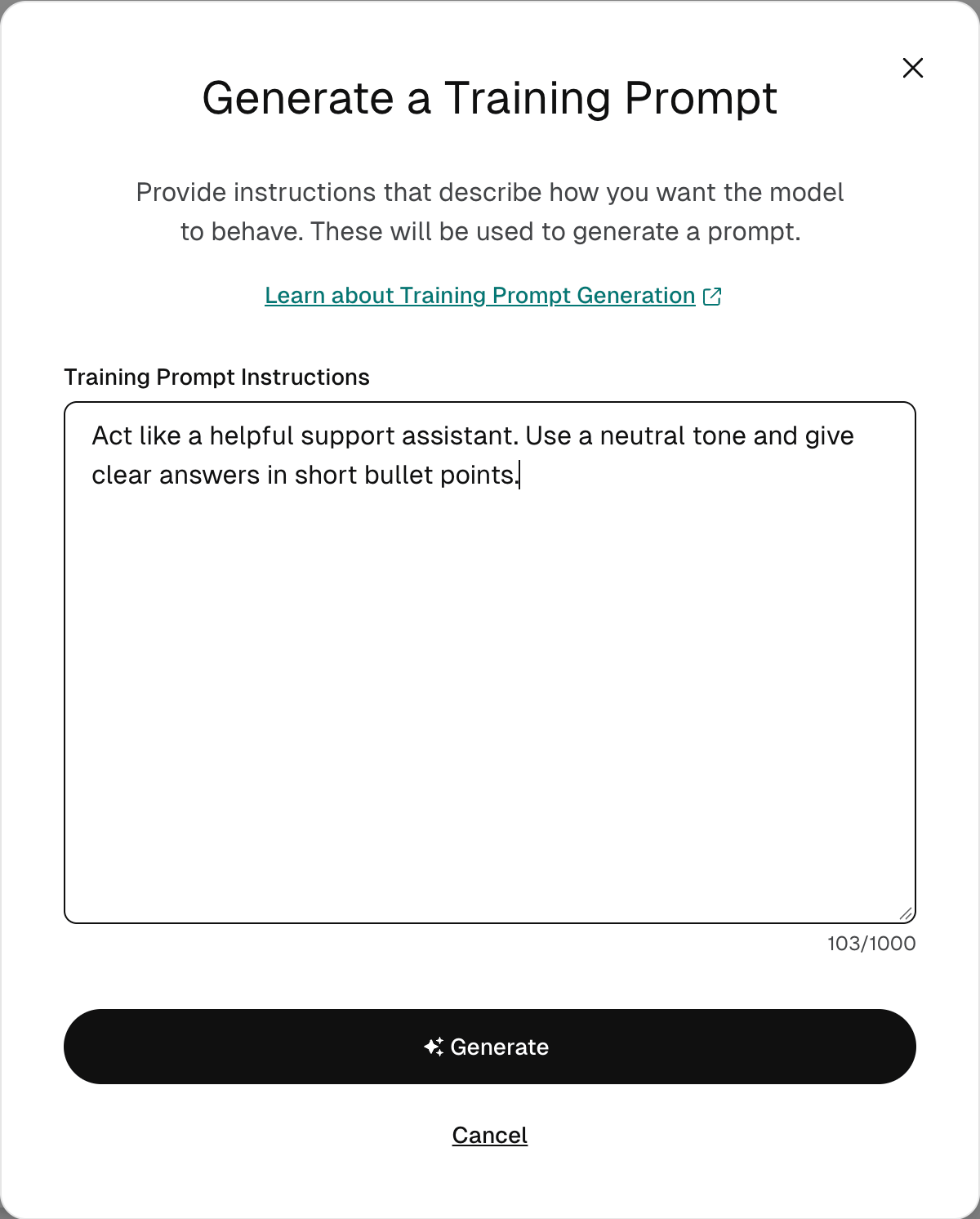
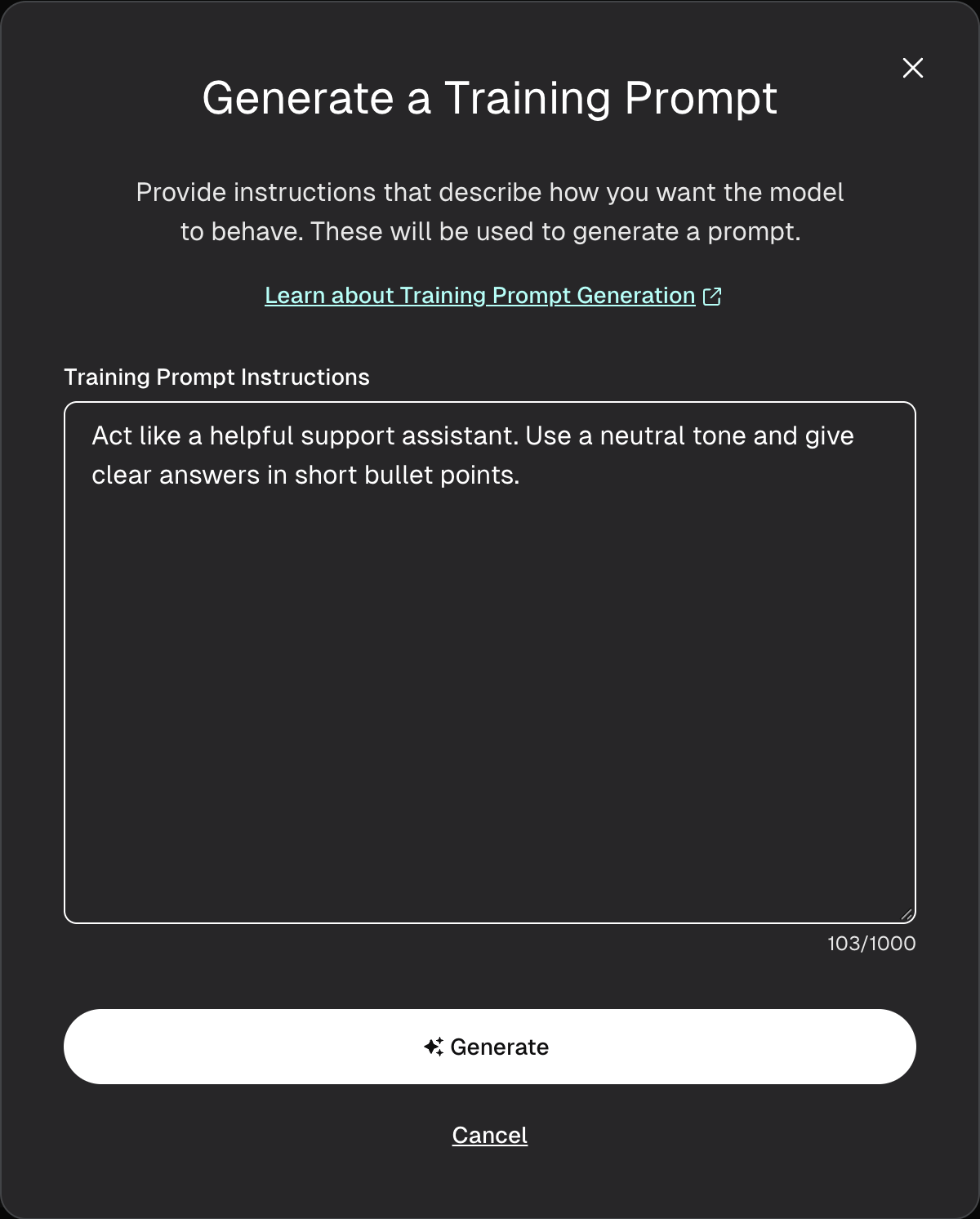
In the Generate a Training Prompt dialog, describe how you want the model to behave. Instructions can be up to 1,000 characters.
3
Click Generate.
Write a prompt
1
Click Write Prompt.
2
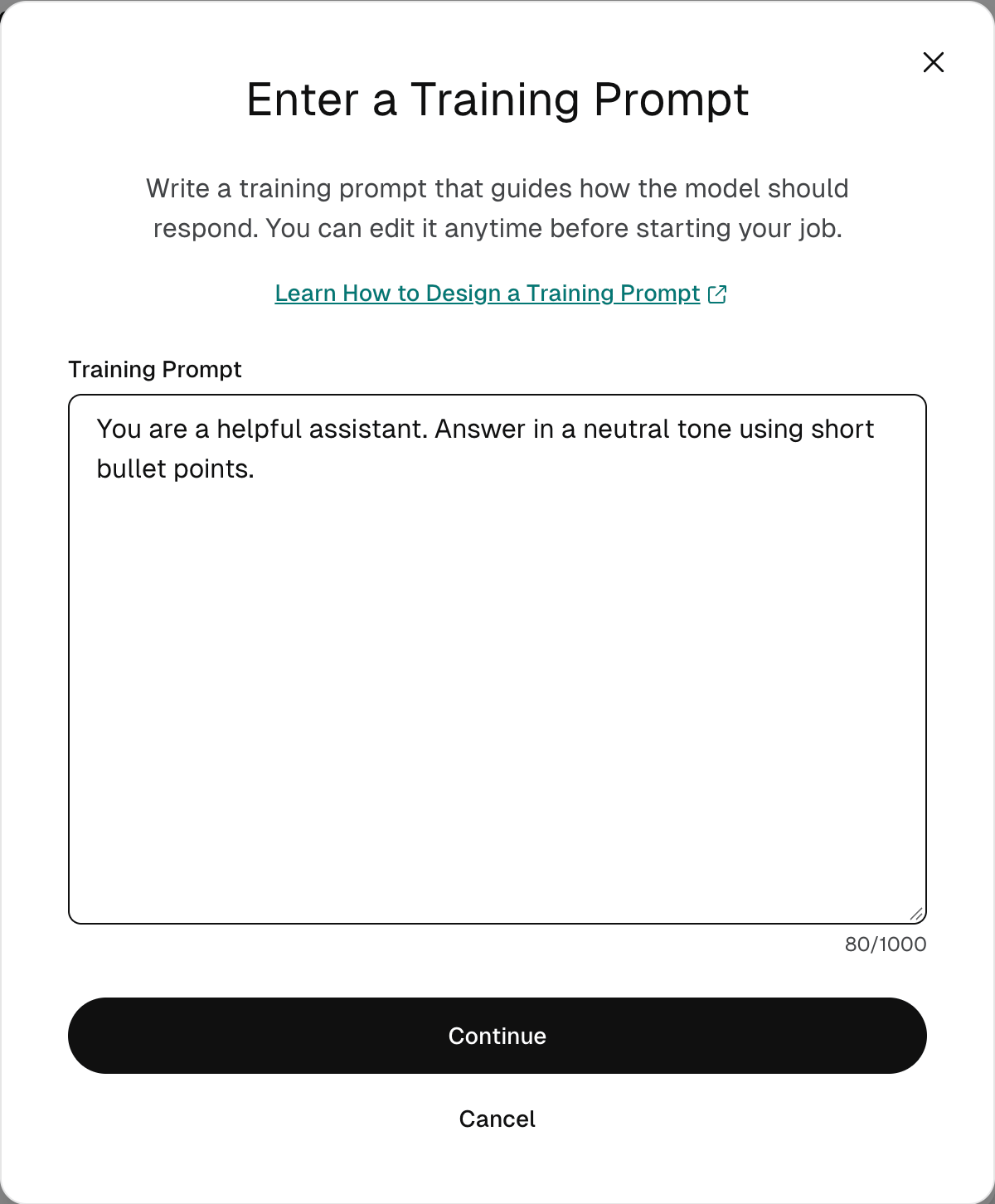
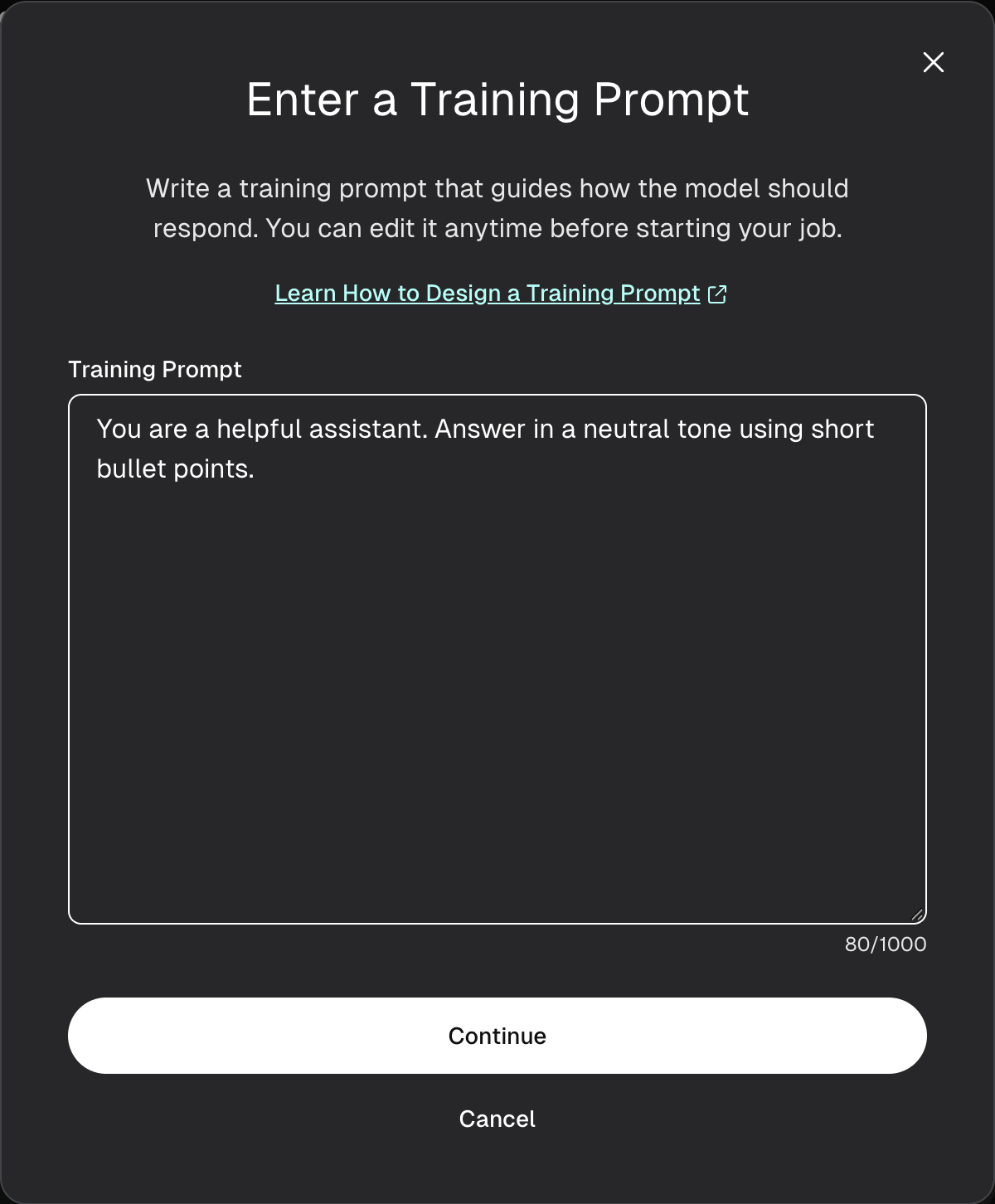
In the Enter a Training Prompt dialog, write a prompt or paste one. Describe the role, tone, response style, and formatting. Prompts can be up to 1,000 characters.
3
Click Continue.
Change a prompt
Before you start the job, click the edit icon next to Training Prompt.Add files
Before you add files, check them against the formats and structure in Prepare files for upload.1
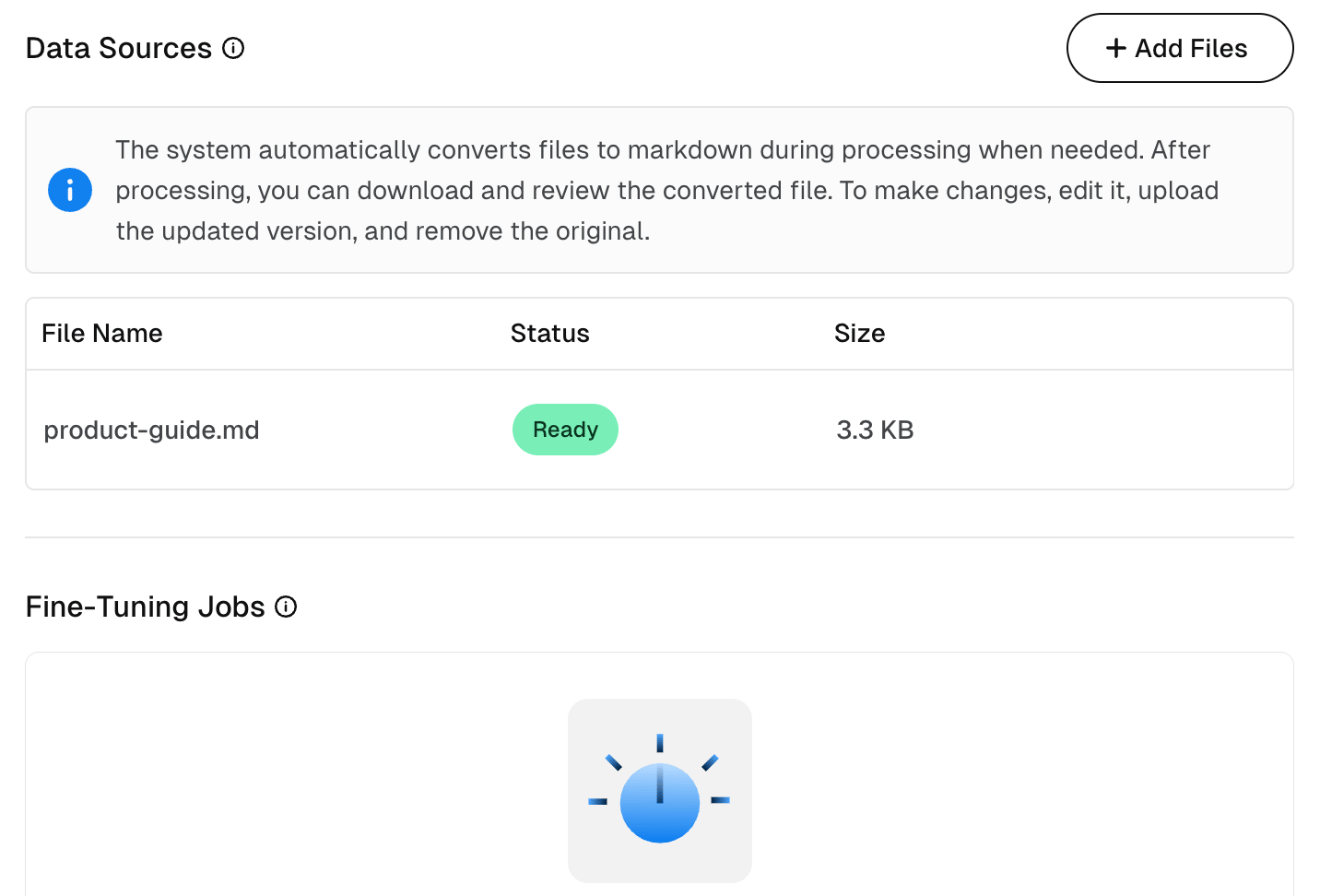
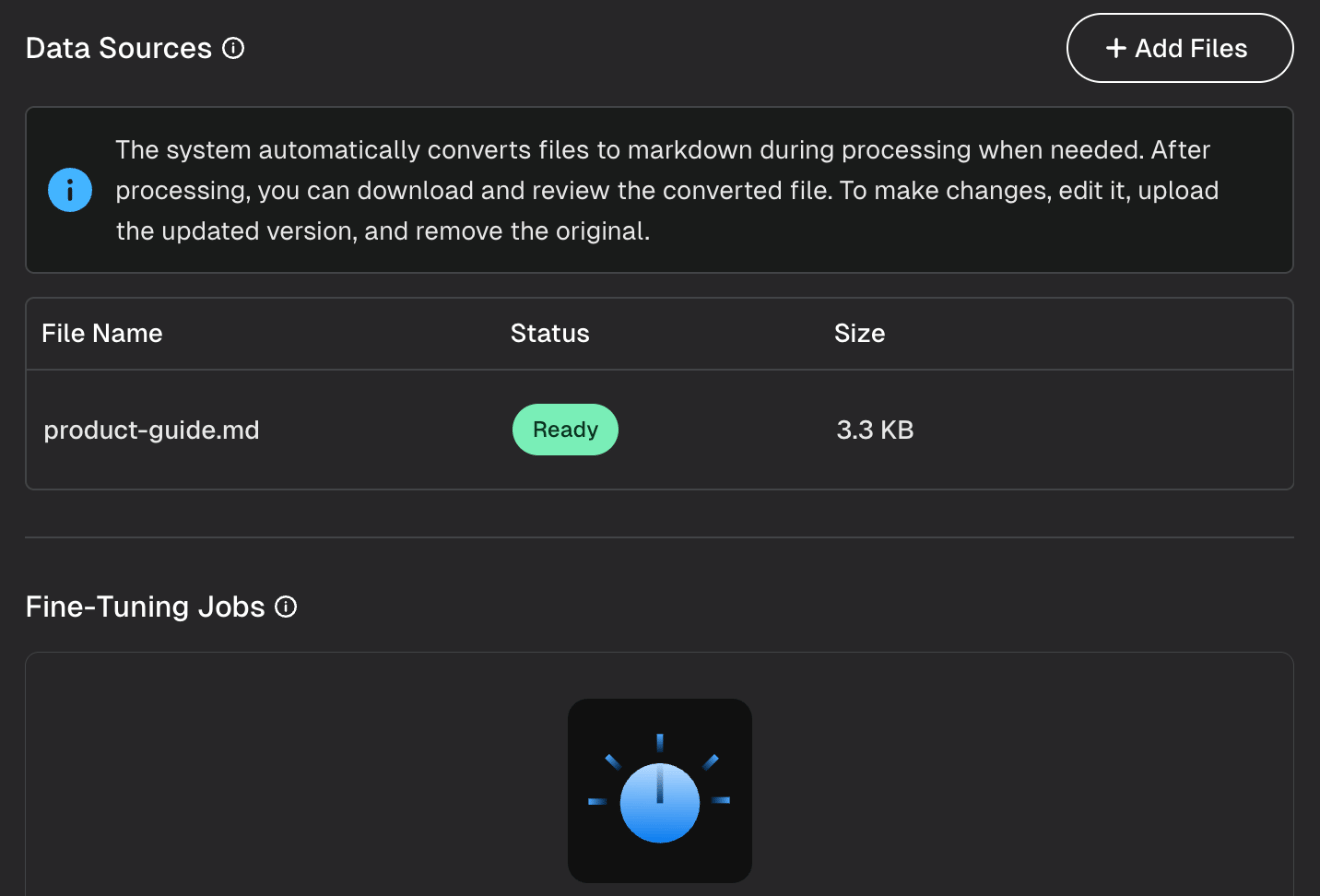
On the job’s summary page, go to Data Sources and click Add Files.
2
Choose where the files come from:
- Select Files – Select files you already uploaded to storage.
- Upload Files – Drag and drop files, or click Browse. You can upload up to 20 files at a time, each up to 150 MB. Accepted formats: PDF, Word, PowerPoint, Markdown, and text.
3
Click Add Files.
Review converted files
SeekrFlow converts files to Markdown automatically when needed. The Data Sources table shows each file’s status and size. To review a converted file, download it. To change it, edit it, upload the updated version, and remove the original.Start the job
1
Click Start Job. The button becomes available when the job’s status is Ready to Start.
2
In the confirmation dialog, click Start Job.