

This page covers the app. To manage data jobs in code, see Manage data jobs in the SDK guide.
Track a job
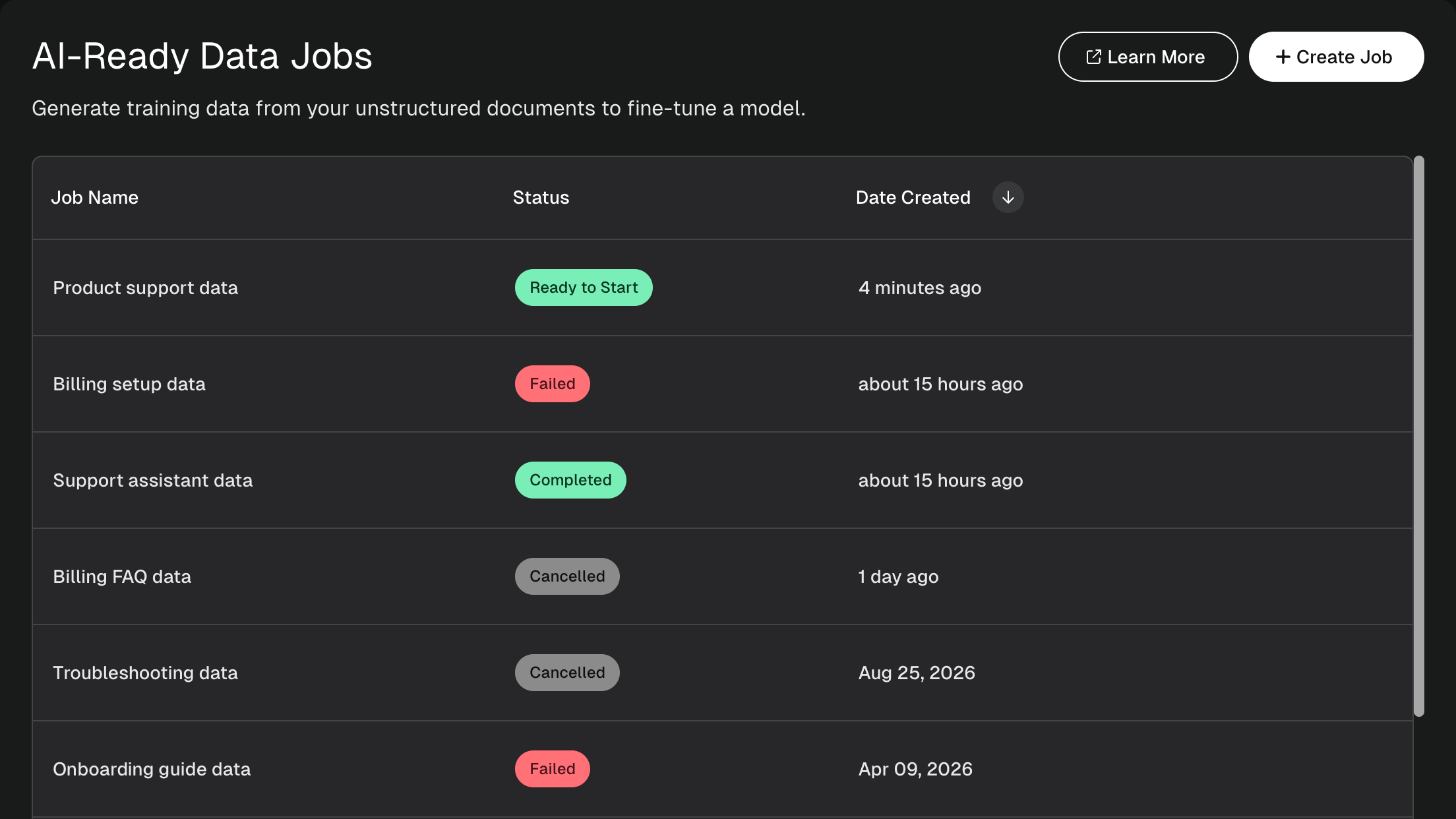
The Status column on the AI-Ready Data page and the Status field on the summary page show where a job is.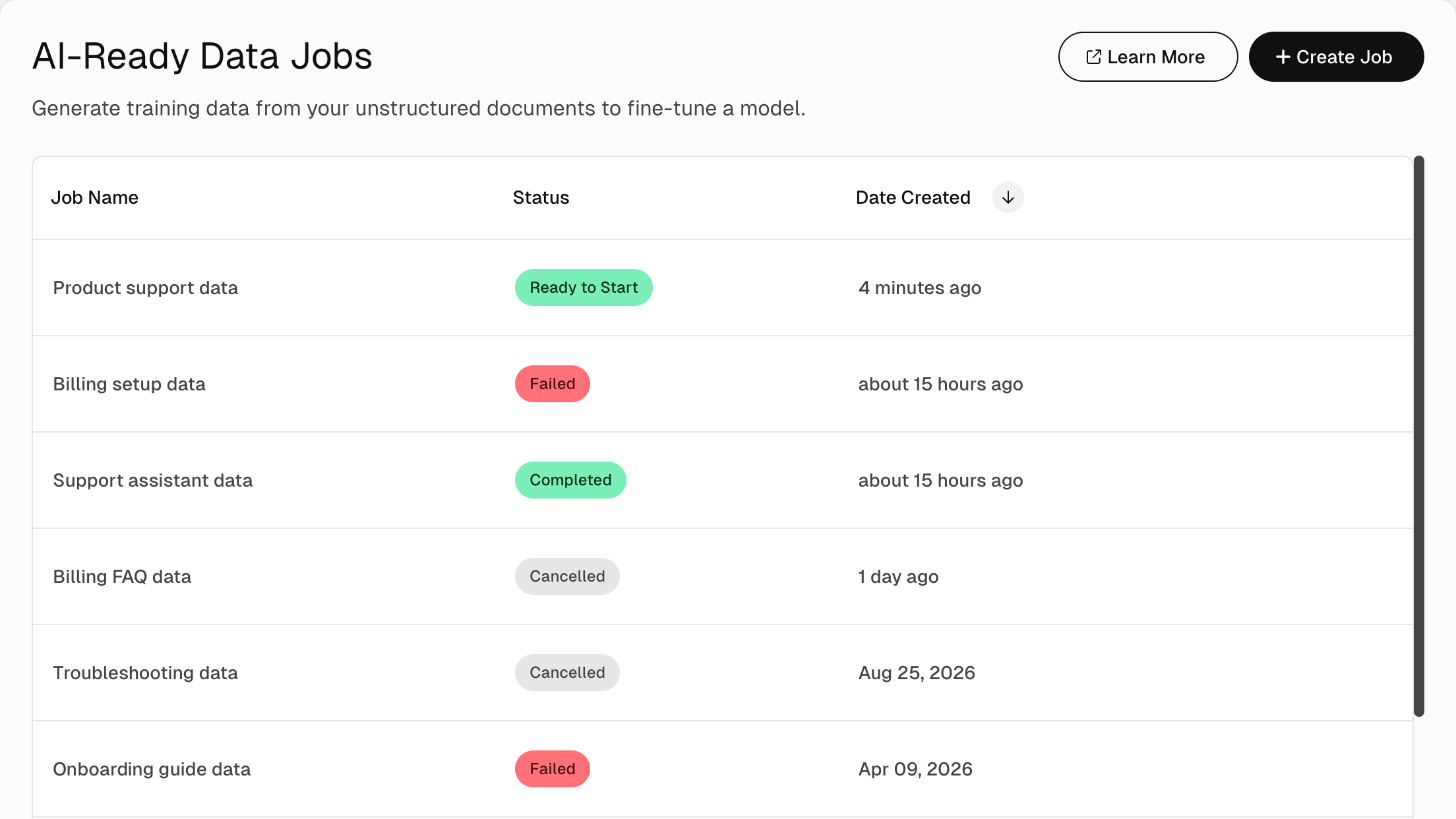
Review a job
Click a job to open its summary page.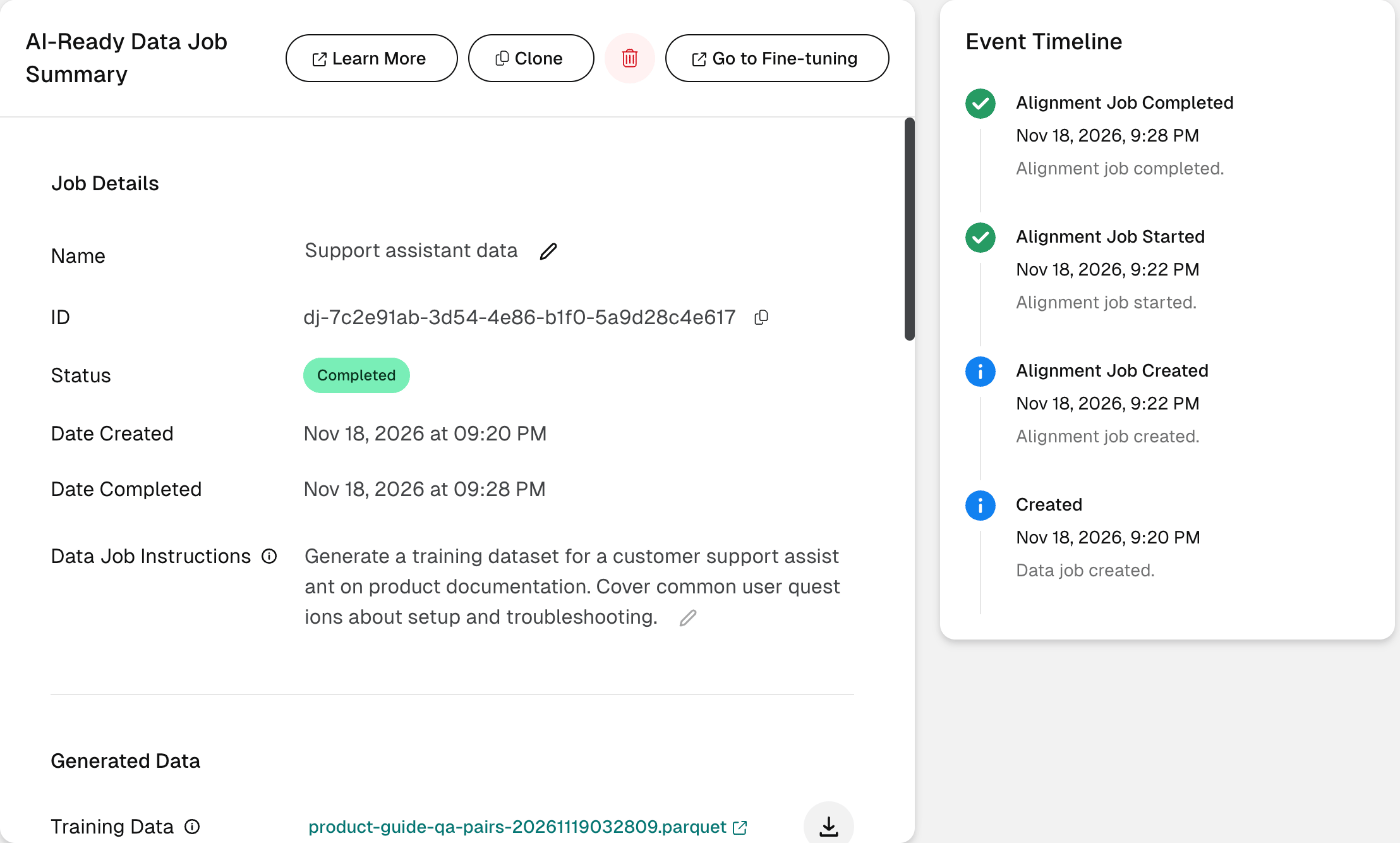
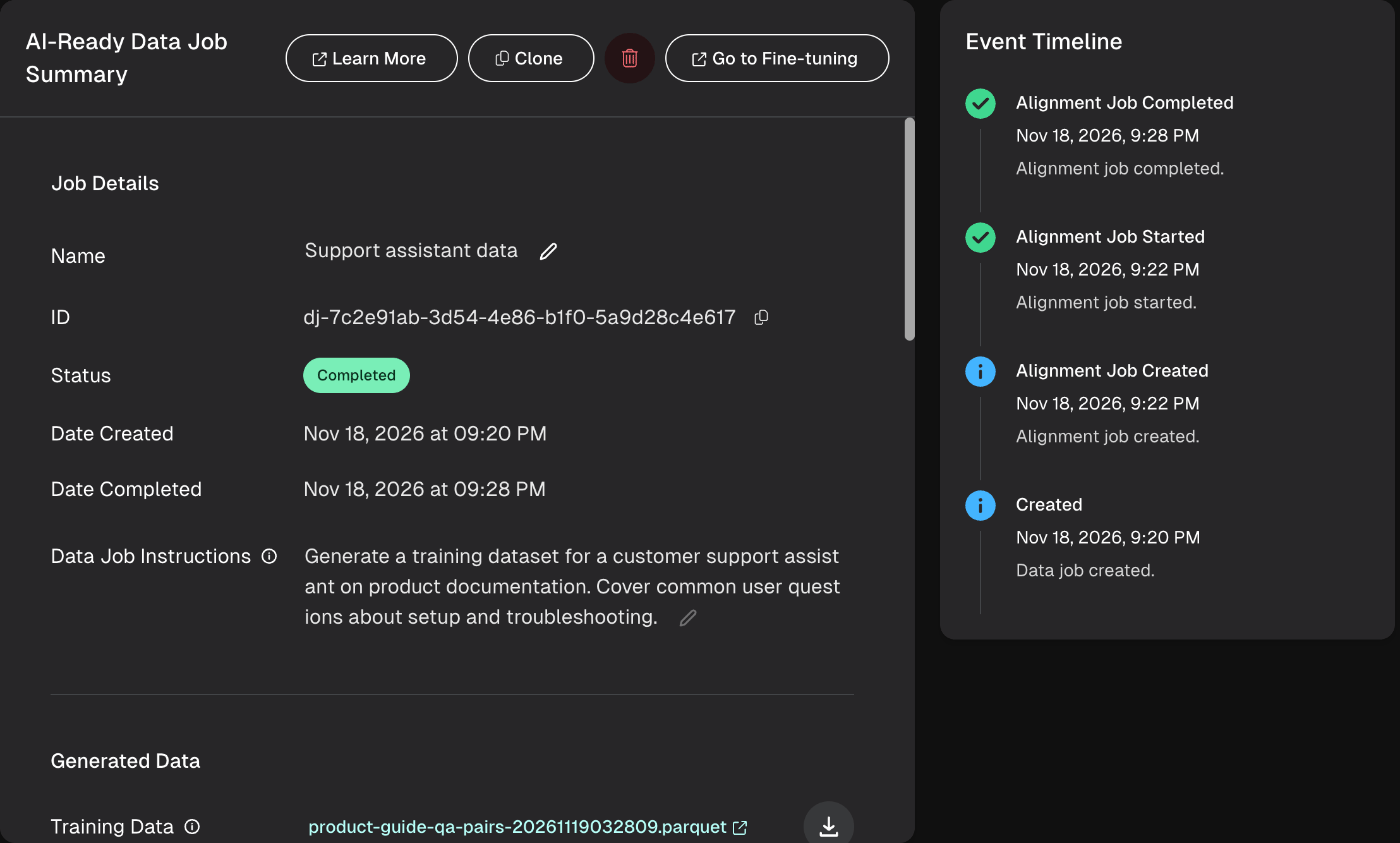
- Job Details – The job’s name, ID, status, creation date, completion date for a completed job, and instructions.
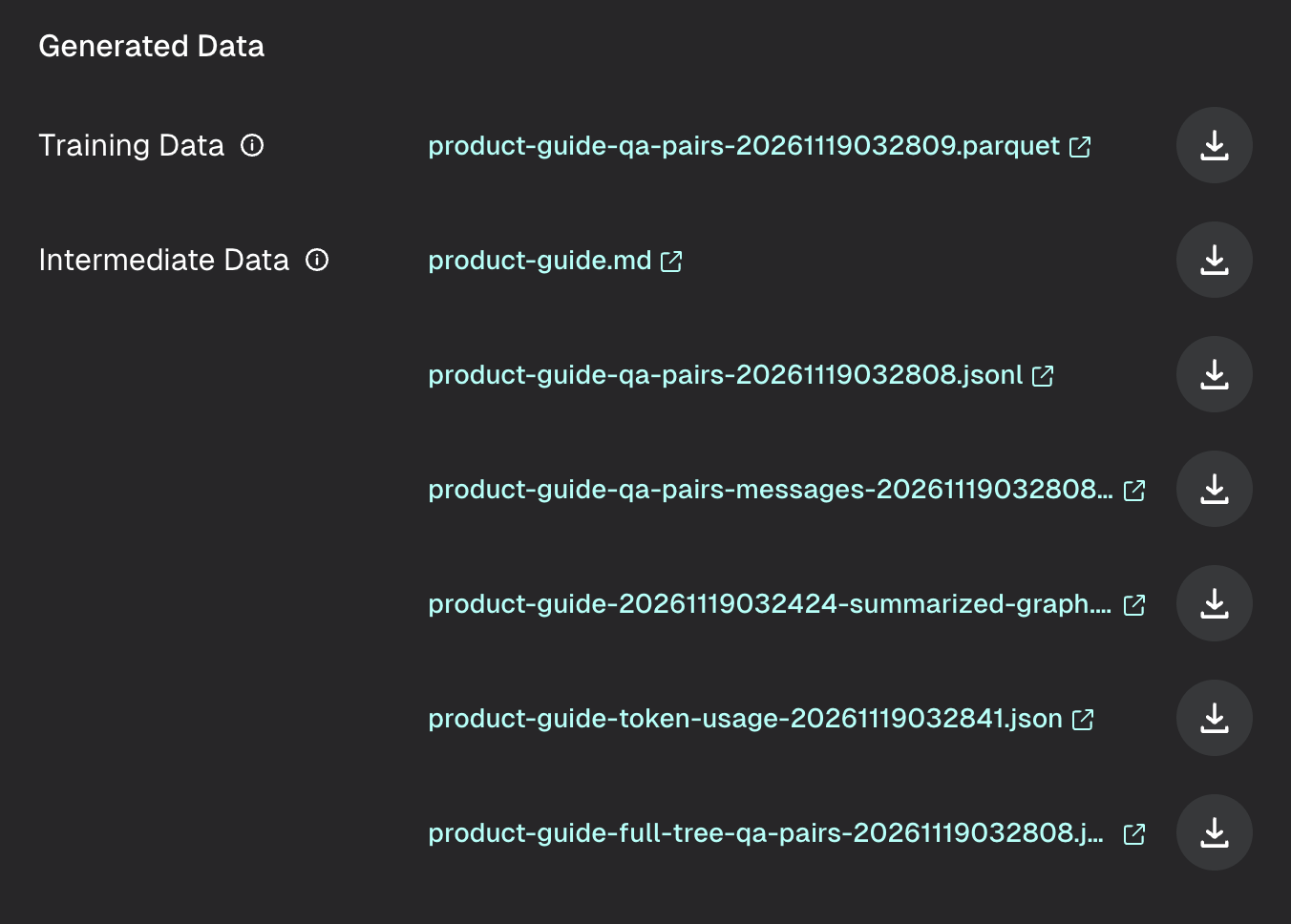
- Generated Data – The files a completed job produced.
- Training Prompt Setup – The prompt the job uses.
- Data Sources – The files in the job, with their status and size.
- Fine-Tuning Jobs – The fine-tuning jobs that use this job’s training data.
- Event Timeline – The steps the job went through.
Download the generated data
On a completed job, click a file name in Generated Data to open the file in storage, or click the download icon to download it.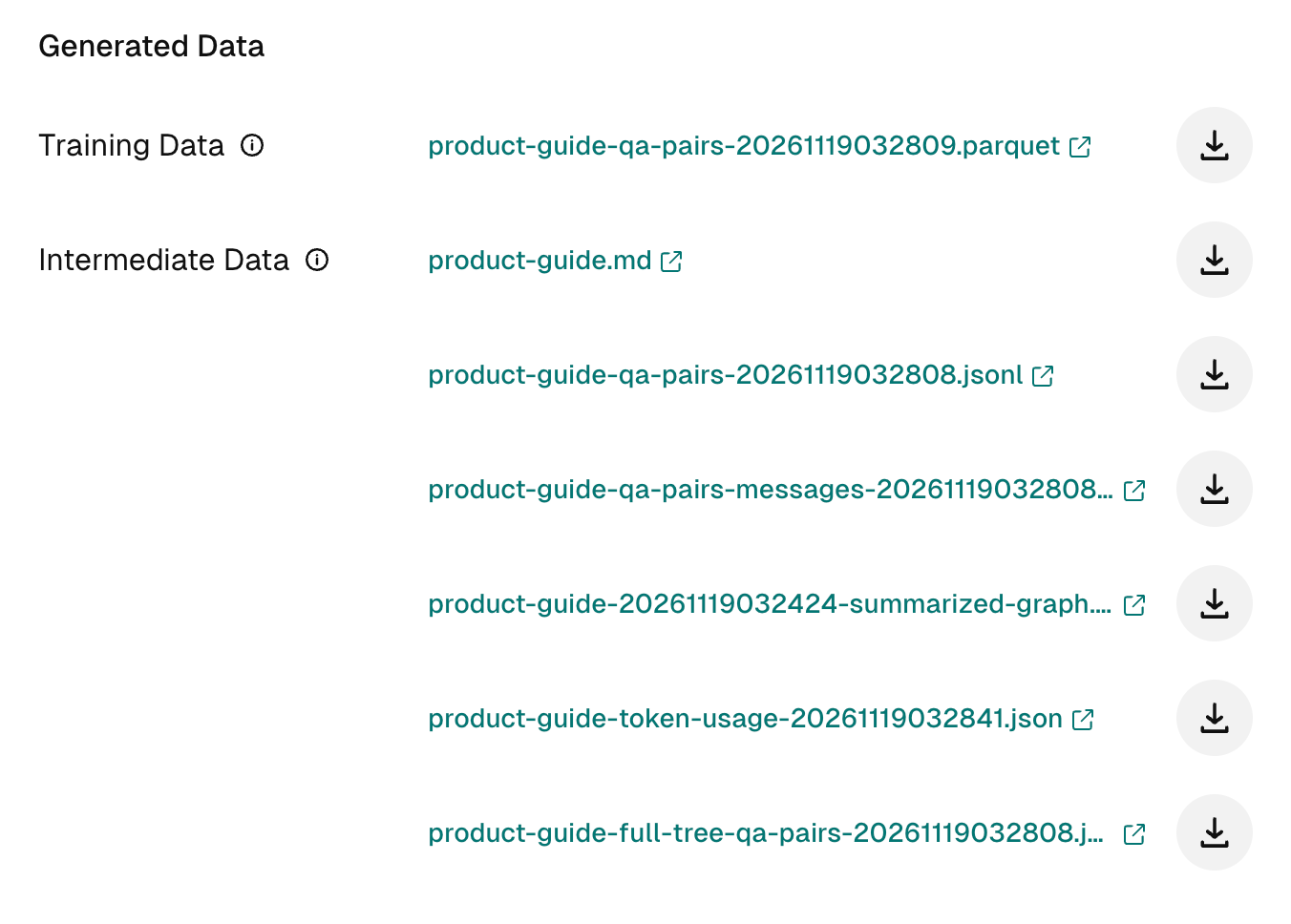
Use the training data
On a completed job, click Go to Fine-tuning. The Fine-tuning page opens in a new tab, where you can create a fine-tuning job with the generated data. See Create a fine-tuning job. The Fine-Tuning Jobs section on the summary page then lists each fine-tuning job that uses the job’s training data.Cancel a job
You can cancel a job after you start it, whether it is queued or running.- On the summary page, click Cancel Job.
- In the confirmation dialog, click Cancel Job.
Clone a job
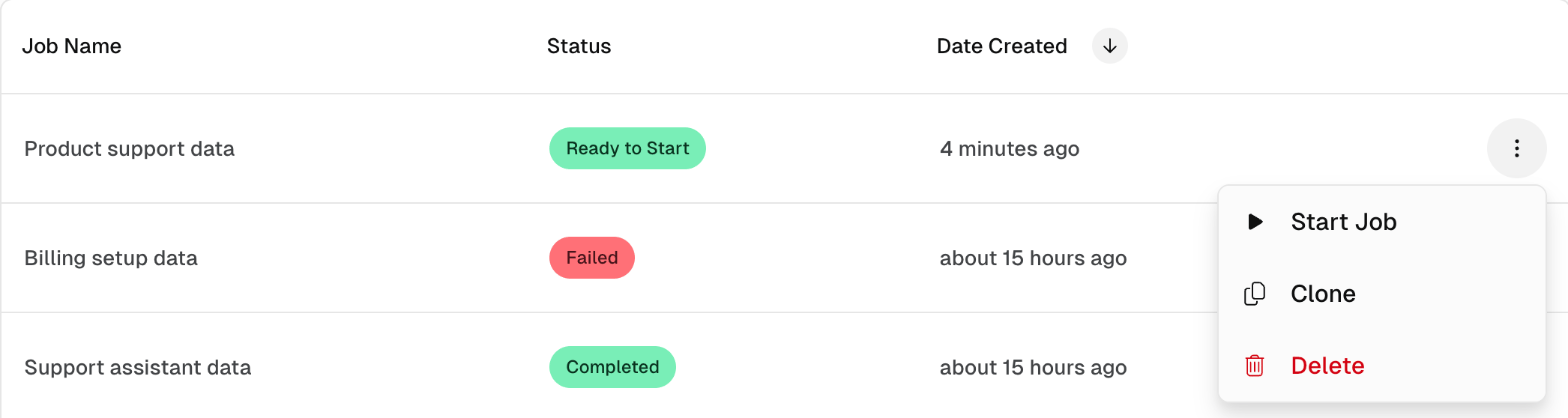
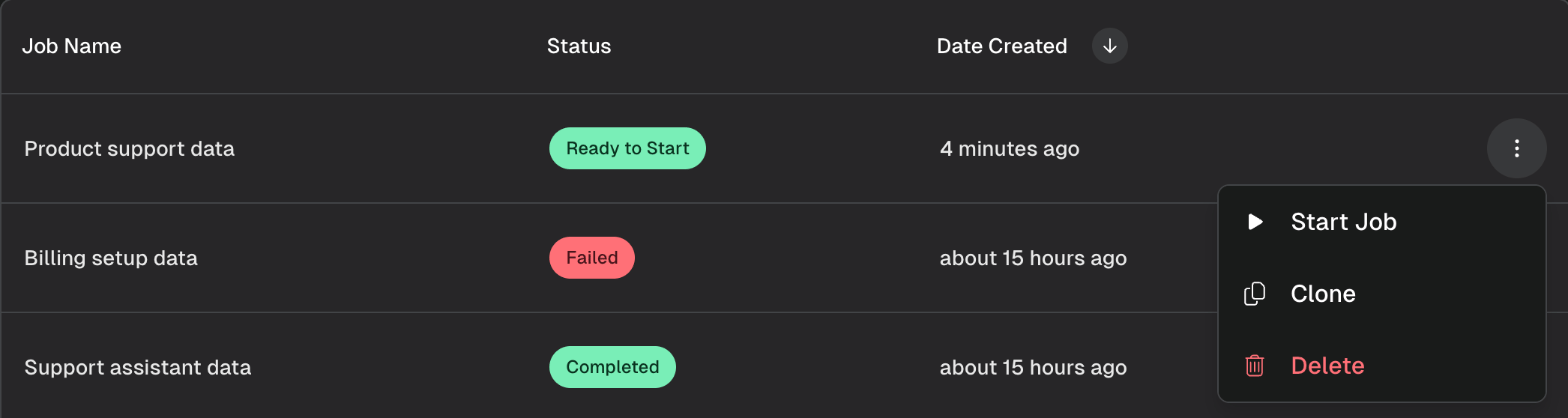
To reuse a job’s configuration, click Clone on the summary page or choose Clone from the row menu. SeekrFlow creates a new job named after the original with “(copy)” added, and shows Job cloned successfully. Click View Job in that message to open the new job, or find it in the job list. The new job has the original’s instructions, prompt, and files, and its status is Ready to Start. Edit it before you start it.Delete a job
1
Click the trash icon on the summary page, or choose Delete from the row menu.
2
In the confirmation dialog, click Delete Job.